Privacy Fencing
In the world of smaller building lots and houses that are being built closer together, there are times when a little more privacy would be much appreciated. Vinyl privacy fences that are sturdy and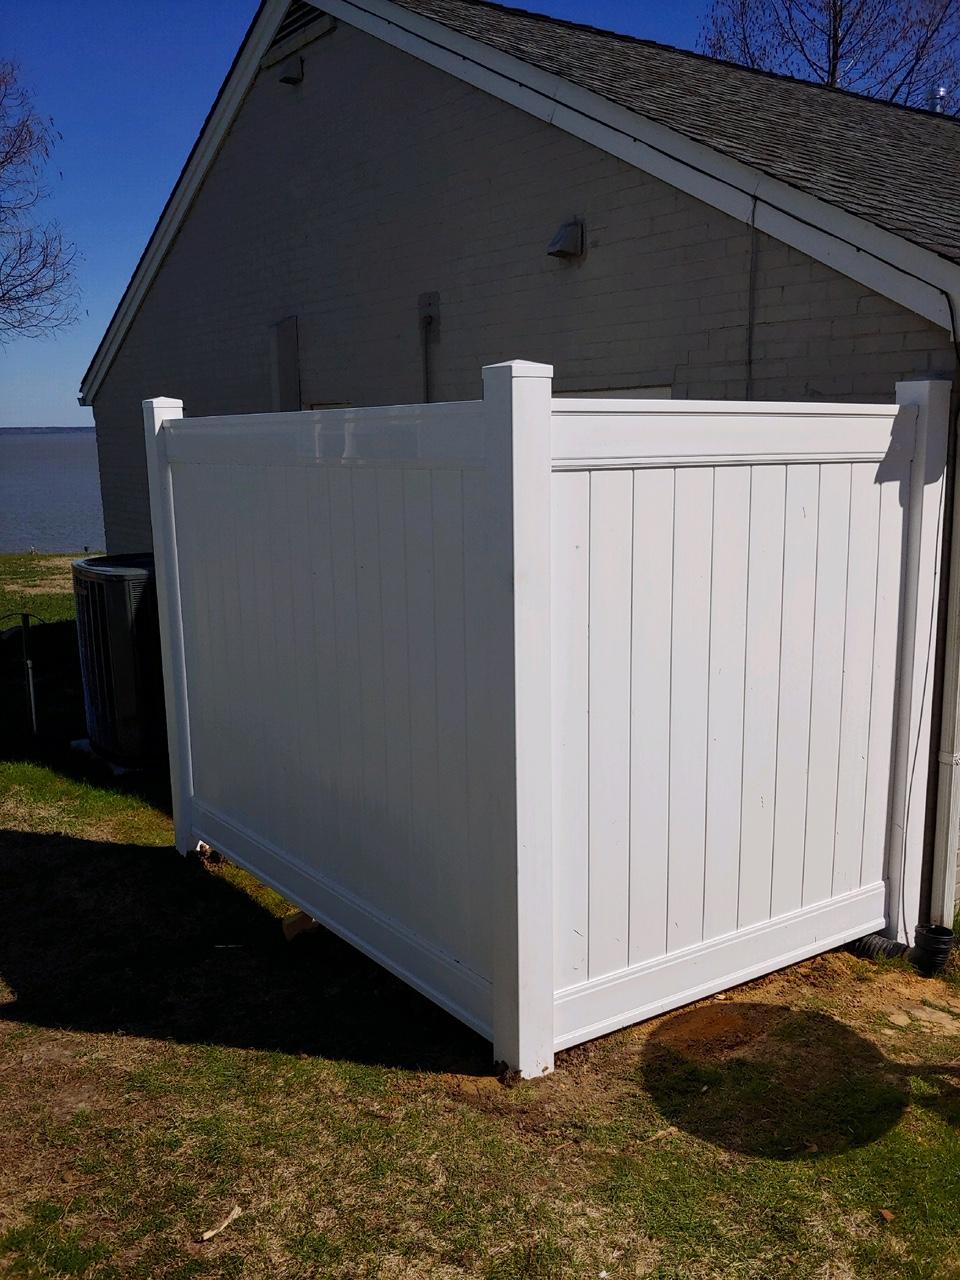
relatively maintenance free can be put up within a weekend. This easy improvement adds visual appeal, value to your home and the privacy you need. As I describe the process of putting up a privacy fence look for the tips and techniques that will help you make this an easier improvement for your home.
This week I built a privacy fence not so much for the resident’s need for privacy, but to screen propane tanks from the view of road traffic. The homeowner simply wanted to enhance the visual appeal of the home from the road. In this case, the project was to build two sections in the shape of an “L” on the front side of the house. A fence obviously would involve more sections and also a gate, but the basics and techniques of the install are the same. Let’s start with materials.
1.) The project: In this case the homeowner requested a vinyl privacy fence. There are several options available at most box stores. I chose a 6’Hx 8’L vinyl panel kit. The kit includes the wall panel but the posts must be bought separately. I chose the kit for two reasons. The first reason was that it would be easier to customize for width. I will talk more about that later. The second reason I chose a kit was for ease in transport. The kit came in a box (an 8-foot-long box granted) but a box that was more manageable than a 6×8 fence panel. Most of us would have trouble transporting something of that size. The next thing you will need is the end posts. These are what the panels are secured to. They are 5”x5” vinyl post sleeves. Choose carefully, since there are three types: One for the end, one for inline and one for corners. You will need 4×4 pressure treated posts and fast setting concrete.
Material list:
- Vinyl panel kit
- Vinyl post sleeves
- 4×4 pressure posts
- Fast setting concrete (50lb bag)
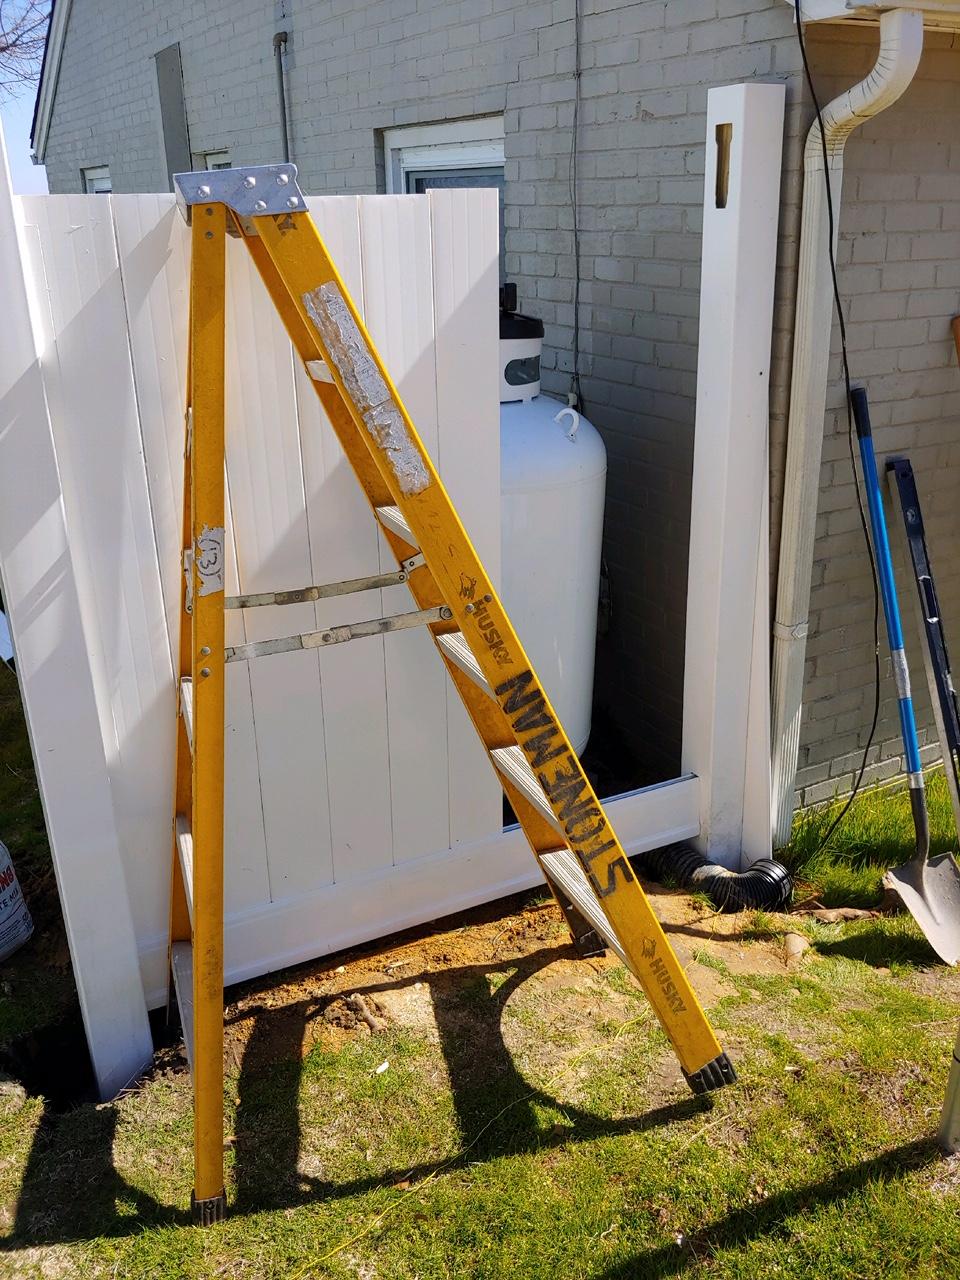
2.) Tools you will need:
- Post hole digger (or shovel)
- Level
- String
- Tape measure
3.) The process: Prep work is a part of any job and to make a fence that is square and level takes a little extra time, but it is necessary if you want a quality job. Before I start digging holes, I stretch strings. One string along the front of the existing dwelling and past it along the line of where I want the fence. Also, a separate one at a 90-degree angle intersecting this one. I take measurements from the existing dwelling to make sure I’m maintaining the same distance all the way down the string.
4.) The holes: The holes for the fence posts need to be about 10“ in diameter (a little bigger than a large dinner plate). This allows for the concrete and also for adjustments (there is nearly always a need for adjustment on way or another) Tip: put your excess dirt on a tarp to keep your grass clean. The holes need to be at least 18” deep…deeper where the frost line is deeper. The more northern your climate, the deeper you need to dig.
5.) Setting your posts: Set the first post and then slide the vinyl post sleeve over it. Next level it and put your concrete in. If necessary, use stakes and props to secure it in place. Once it is secure (fast setting concrete will make this quicker), you can place your second post in its hole and start assembling your fence panel per the instructions. Do not put your concrete in yet. If you have to fit a section of wall in a smaller that “stock” width, then a kit that must be assembled makes the job much easier and neater. You just need to cut the top and bottom horizontal pieces and then just add the correct number of pickets to fill in the width. A little math will be required to get it all correct so make sure you take the time to figure it carefully (I made the calculations twice and checked my measurement several times). I needed to make my first section of fence a total of 72 inches from brick wall to edge of lot line. When you subtract the width of the two posts (4 ½” each) and allow for the 1” each for the top and bottom piece to protrude into the post sleeve and ½” for “play” my total overall length of my first panel was 62 ½”. Once your panel is assembled, then level your post and secure it with concrete per instructions (once again you may have to temporarily secure it with stakes and props).
6.) Keeping it straight and level: With your string you should have no problem keeping your fence going straight. Level is easy if your lot is relatively flat. If it slopes though, you have to take other measures. On is to gradually drop the end of each succeeding panel. If you do this, you will need to stretch a string from corner to corner at the of the panel and use that string as a guide. If your lot drops too much for this to work. You may need to drop each succeeding panel a few inches on both sides to create a stairstep effect.
The great thing about a vinyl fence other than the ease in which it can be installed, is that once it is up it is nearly maintenance free.
The links to external sites in this post are affiliate links, and we will be compensated when you make a purchase by clicking through our links.