Steps to Changing a Light Fixture
In the process of getting our own home ready to sell, recently I was painting the entry room on the back of the house and realized that the lighting fixtures in that room were uglier than a “mud fence”. Funny how one can ignore those kinds of details for years. There was a ceiling fan/light combo over the breakfast table that looked like it was installed in the 70’s and also a simple leaded glass fixture that may have been almost as old. Both were extremely dated and both would detract immensely from the appeal of that room…. so both had to go.
Now, what to replace them with? Firstly, as a DIY-er you will want to peruse the selections in your local retailer. Keep in mind that you want something that goes well with the paint on the walls and also something that fits in with the rest of your décor. If you have brushed nickel door pulls and stainless-steel appliances, then a fixture with brushed nickel trim might look best on your fixture and on your ceiling. Due to the money saving features of modern LED lighting, I am highlighting that type of fixture in this post and would recommend them highly.
Once you have your replacement fixture and are ready to replace the old fixture there are a few things to do and remember as you begin this process.
Recap the wires.
Turn the power off to the fixture. With the existing light fixture on, go to your breaker panel and turn off the circuit that controls that light. You will know you have turned off the power to that circuit when you go back to the room and the light is now off. If you have a voltage tester, test it to make sure. It never hurts to double check.
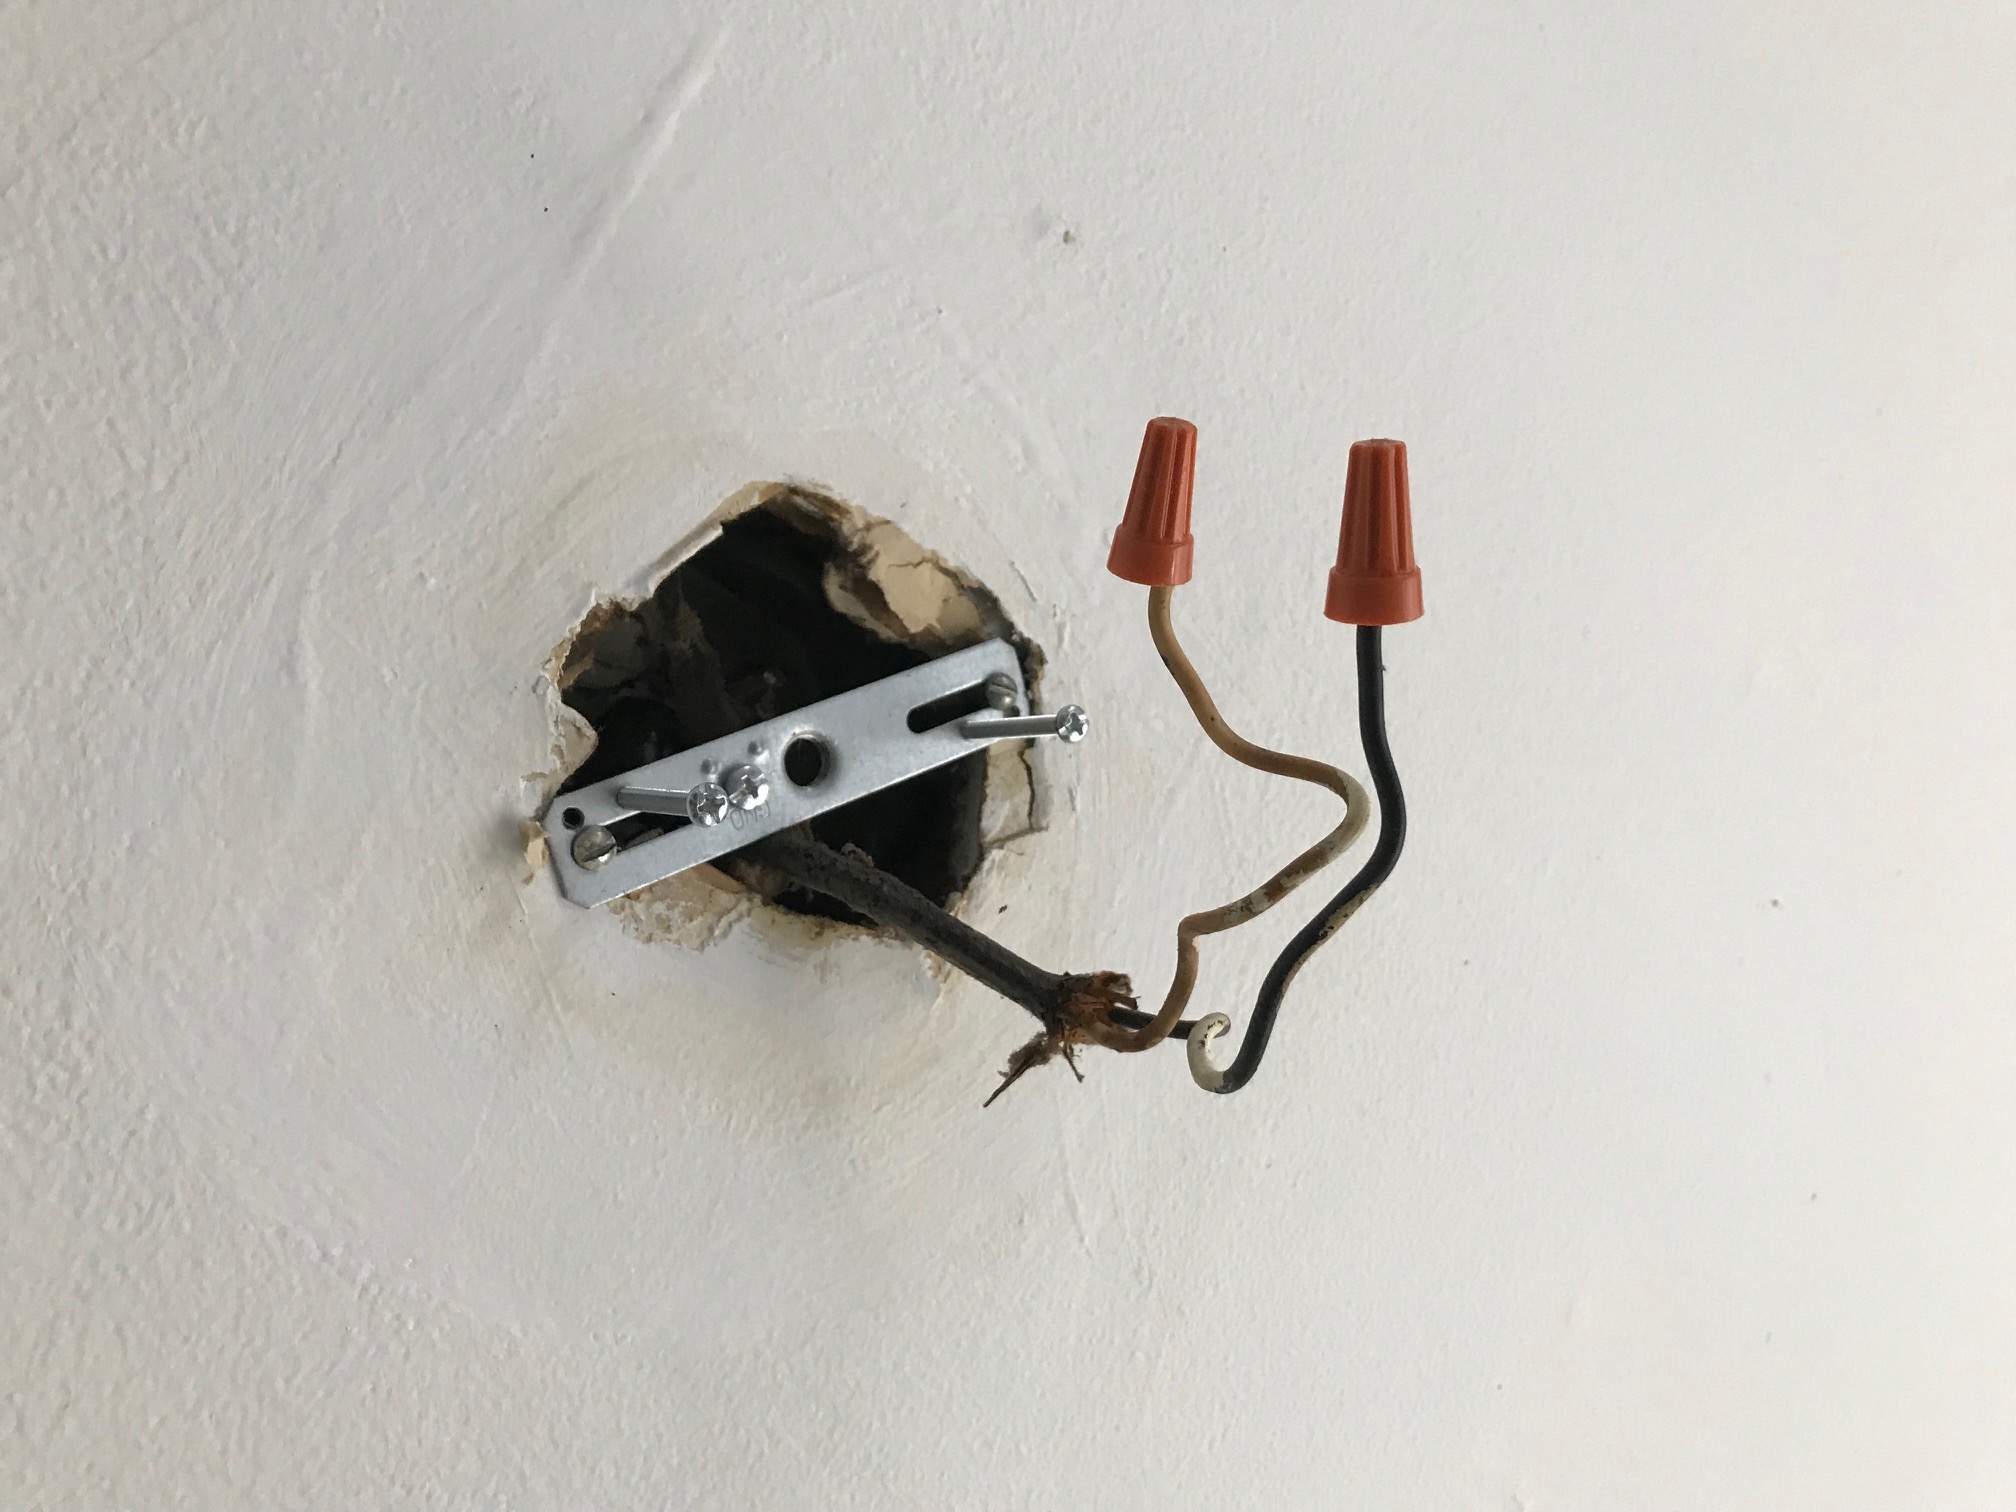
Take the old fixture down. Re-cap the wires in your ceiling box as you take the wires loose from the fixture. (Never leave an exposed wire).
Install the ceiling box bracket. With your new fixture you will get a new ceiling box bracket to attach to the ceiling box with two screws. Attach that bracket. You will probably need to remove the old bracket first.
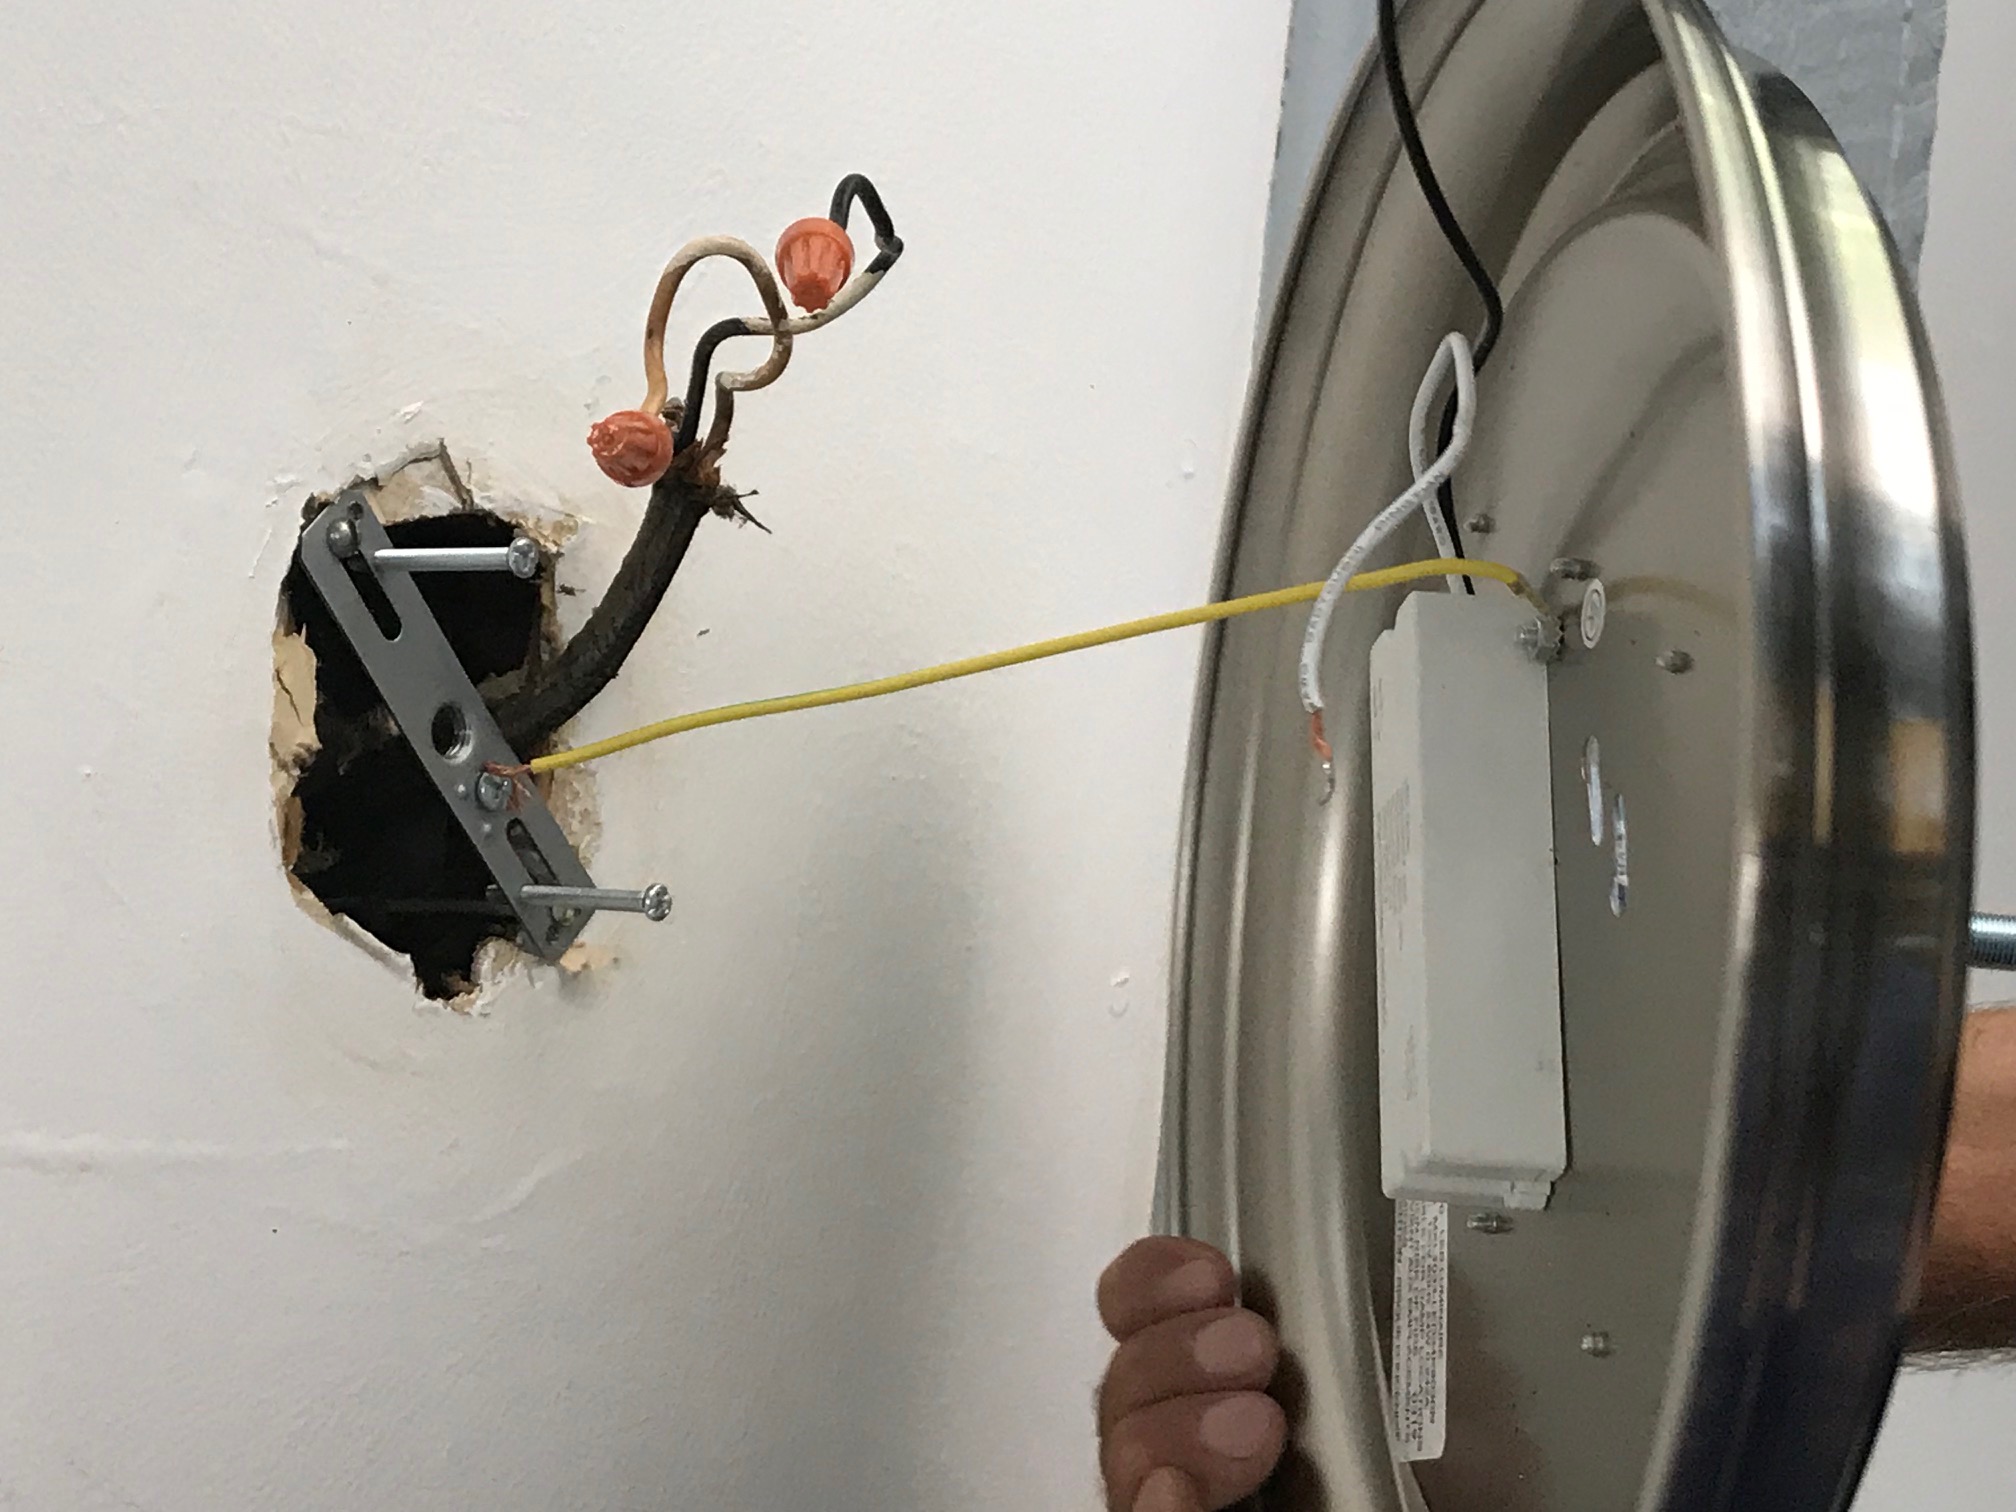
Ceiling Bracket and Yellow Ground Wire
Attach the ground wire. Most lighting fixtures have only (3) wires:
- White (Neutral)
- Black (Power)
- Green or Bare Copper (Ground)
This particular fixture has a yellow/green wire as the ground. That is my ground wire. This wire is either attached to the bare copper ground in the box or in older homes, like my own that do not have a bare copper ground, then this ground wire is attached to the ground screw on the bracket installed in the last step (see photo).
Attach the other two wires with the wire nuts provided with the fixture.
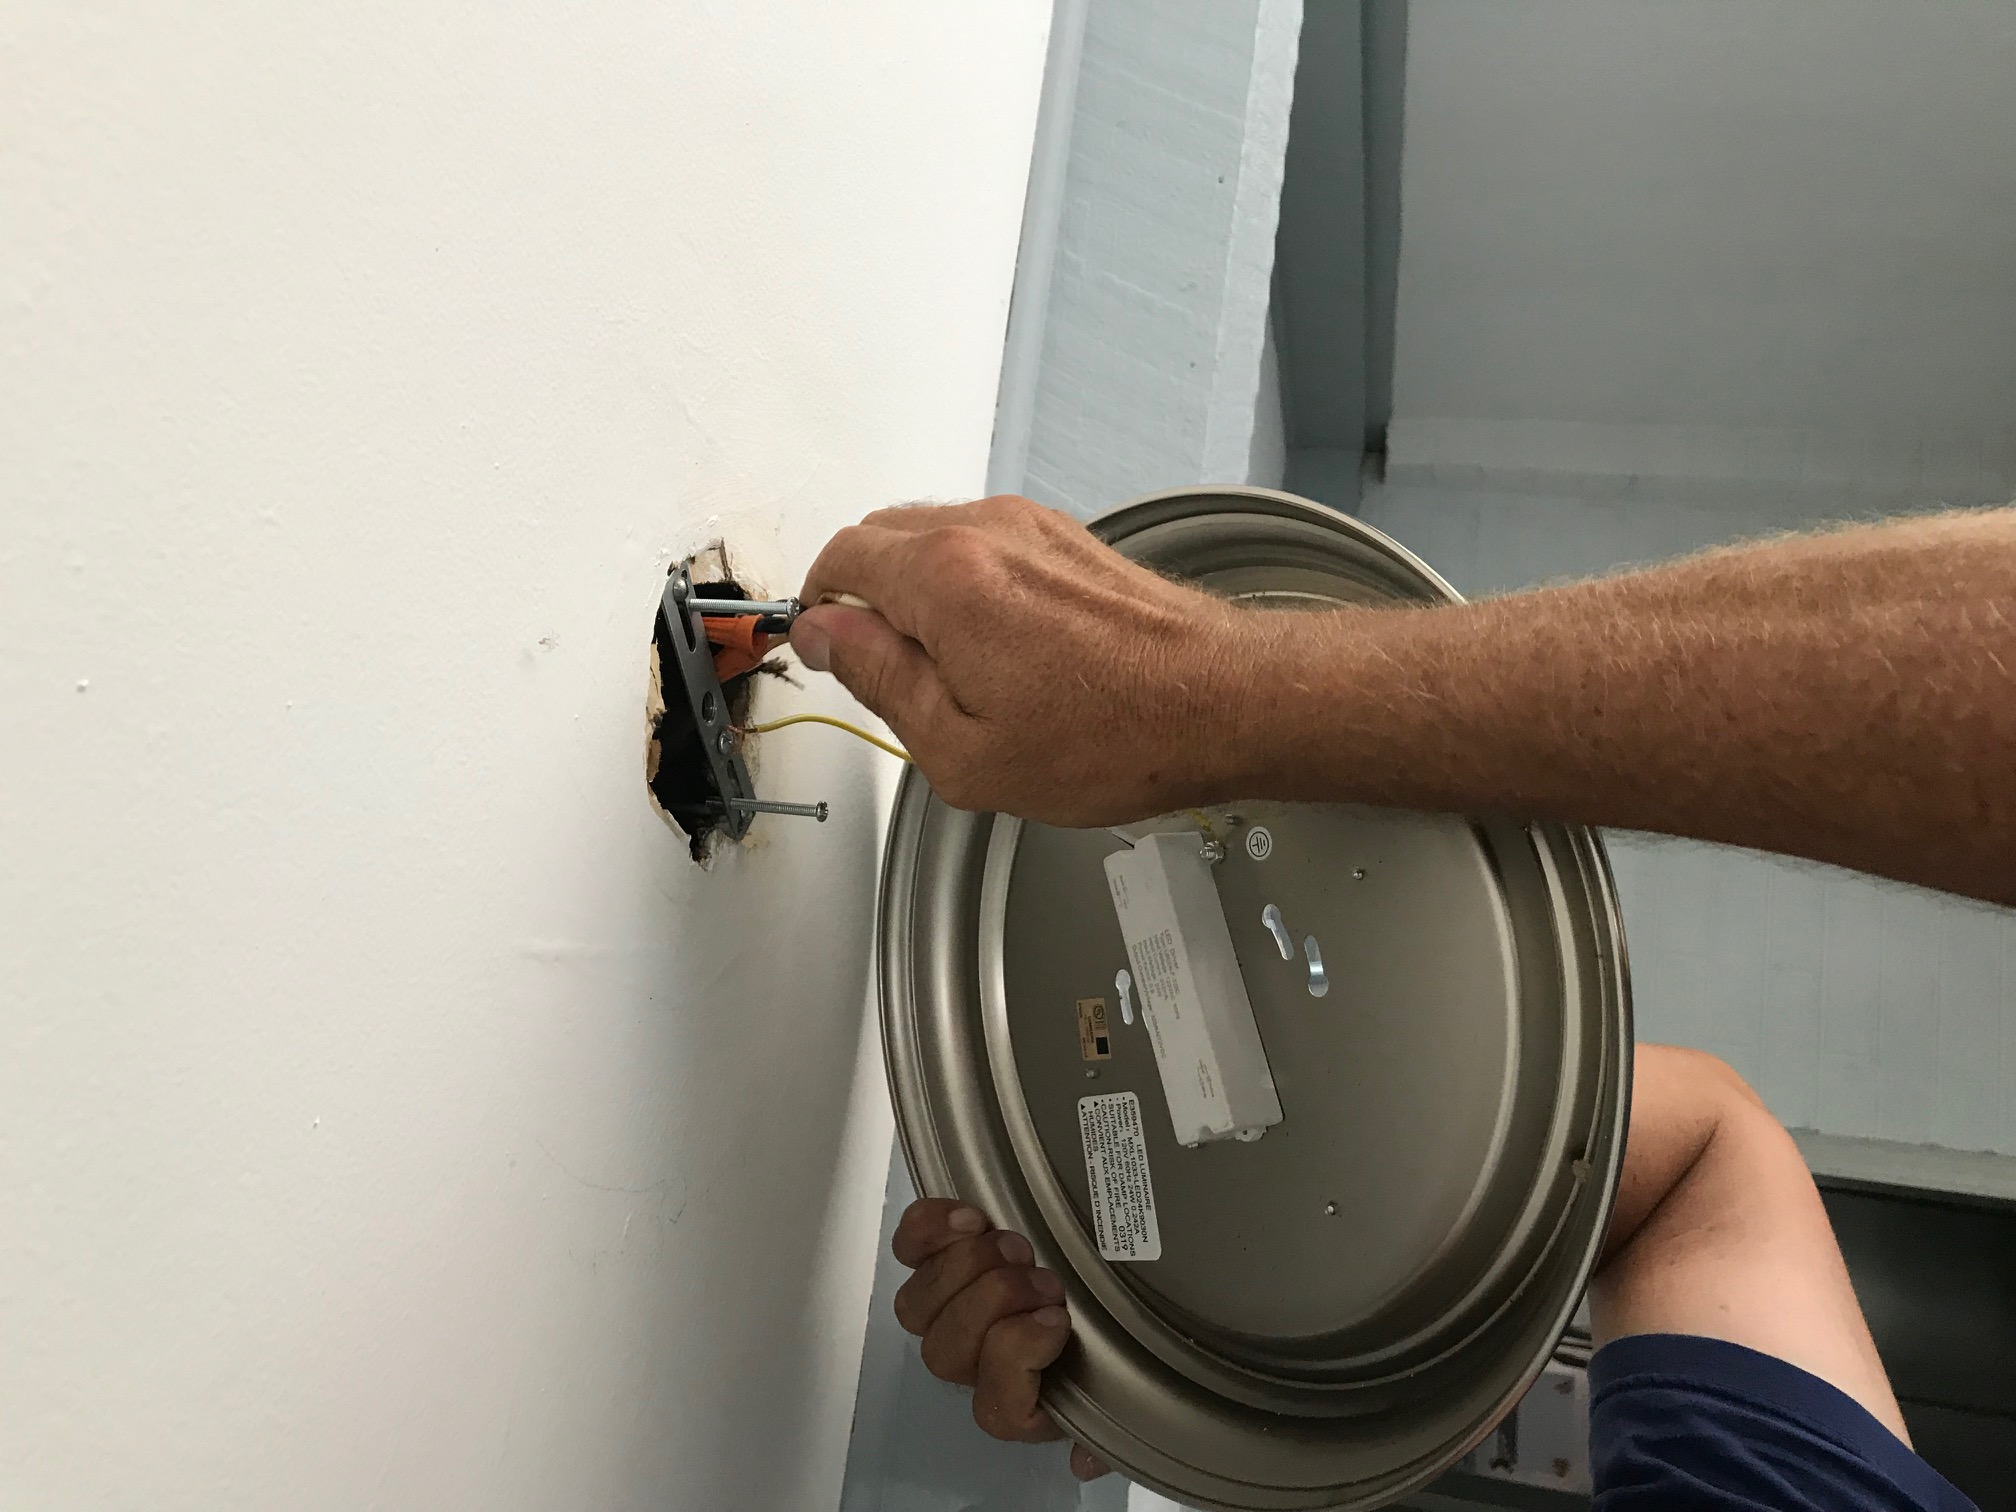
Folding wires into box
You may have to strip back the insulation on the wire of the fixture a bit to make a good connection in your wire nut. I usually strip back the wire to about ½ “. Black goes to black and white to white. Gently fold the wires up into the box to get them out of the way of the fixture.
Test your connections. Before I fully install a fixture, I like to test it to make sure my connections are good. That way if there is a problem is a lot easier to correct.
Install your fixture. Usually only 2 screws hold up a light fixture and they mount on the bracket previously installed. (see photo). Once those are installed and pulled up tight so that your fixture is tight against the ceiling, the last thing to do is to install the glass canopy.
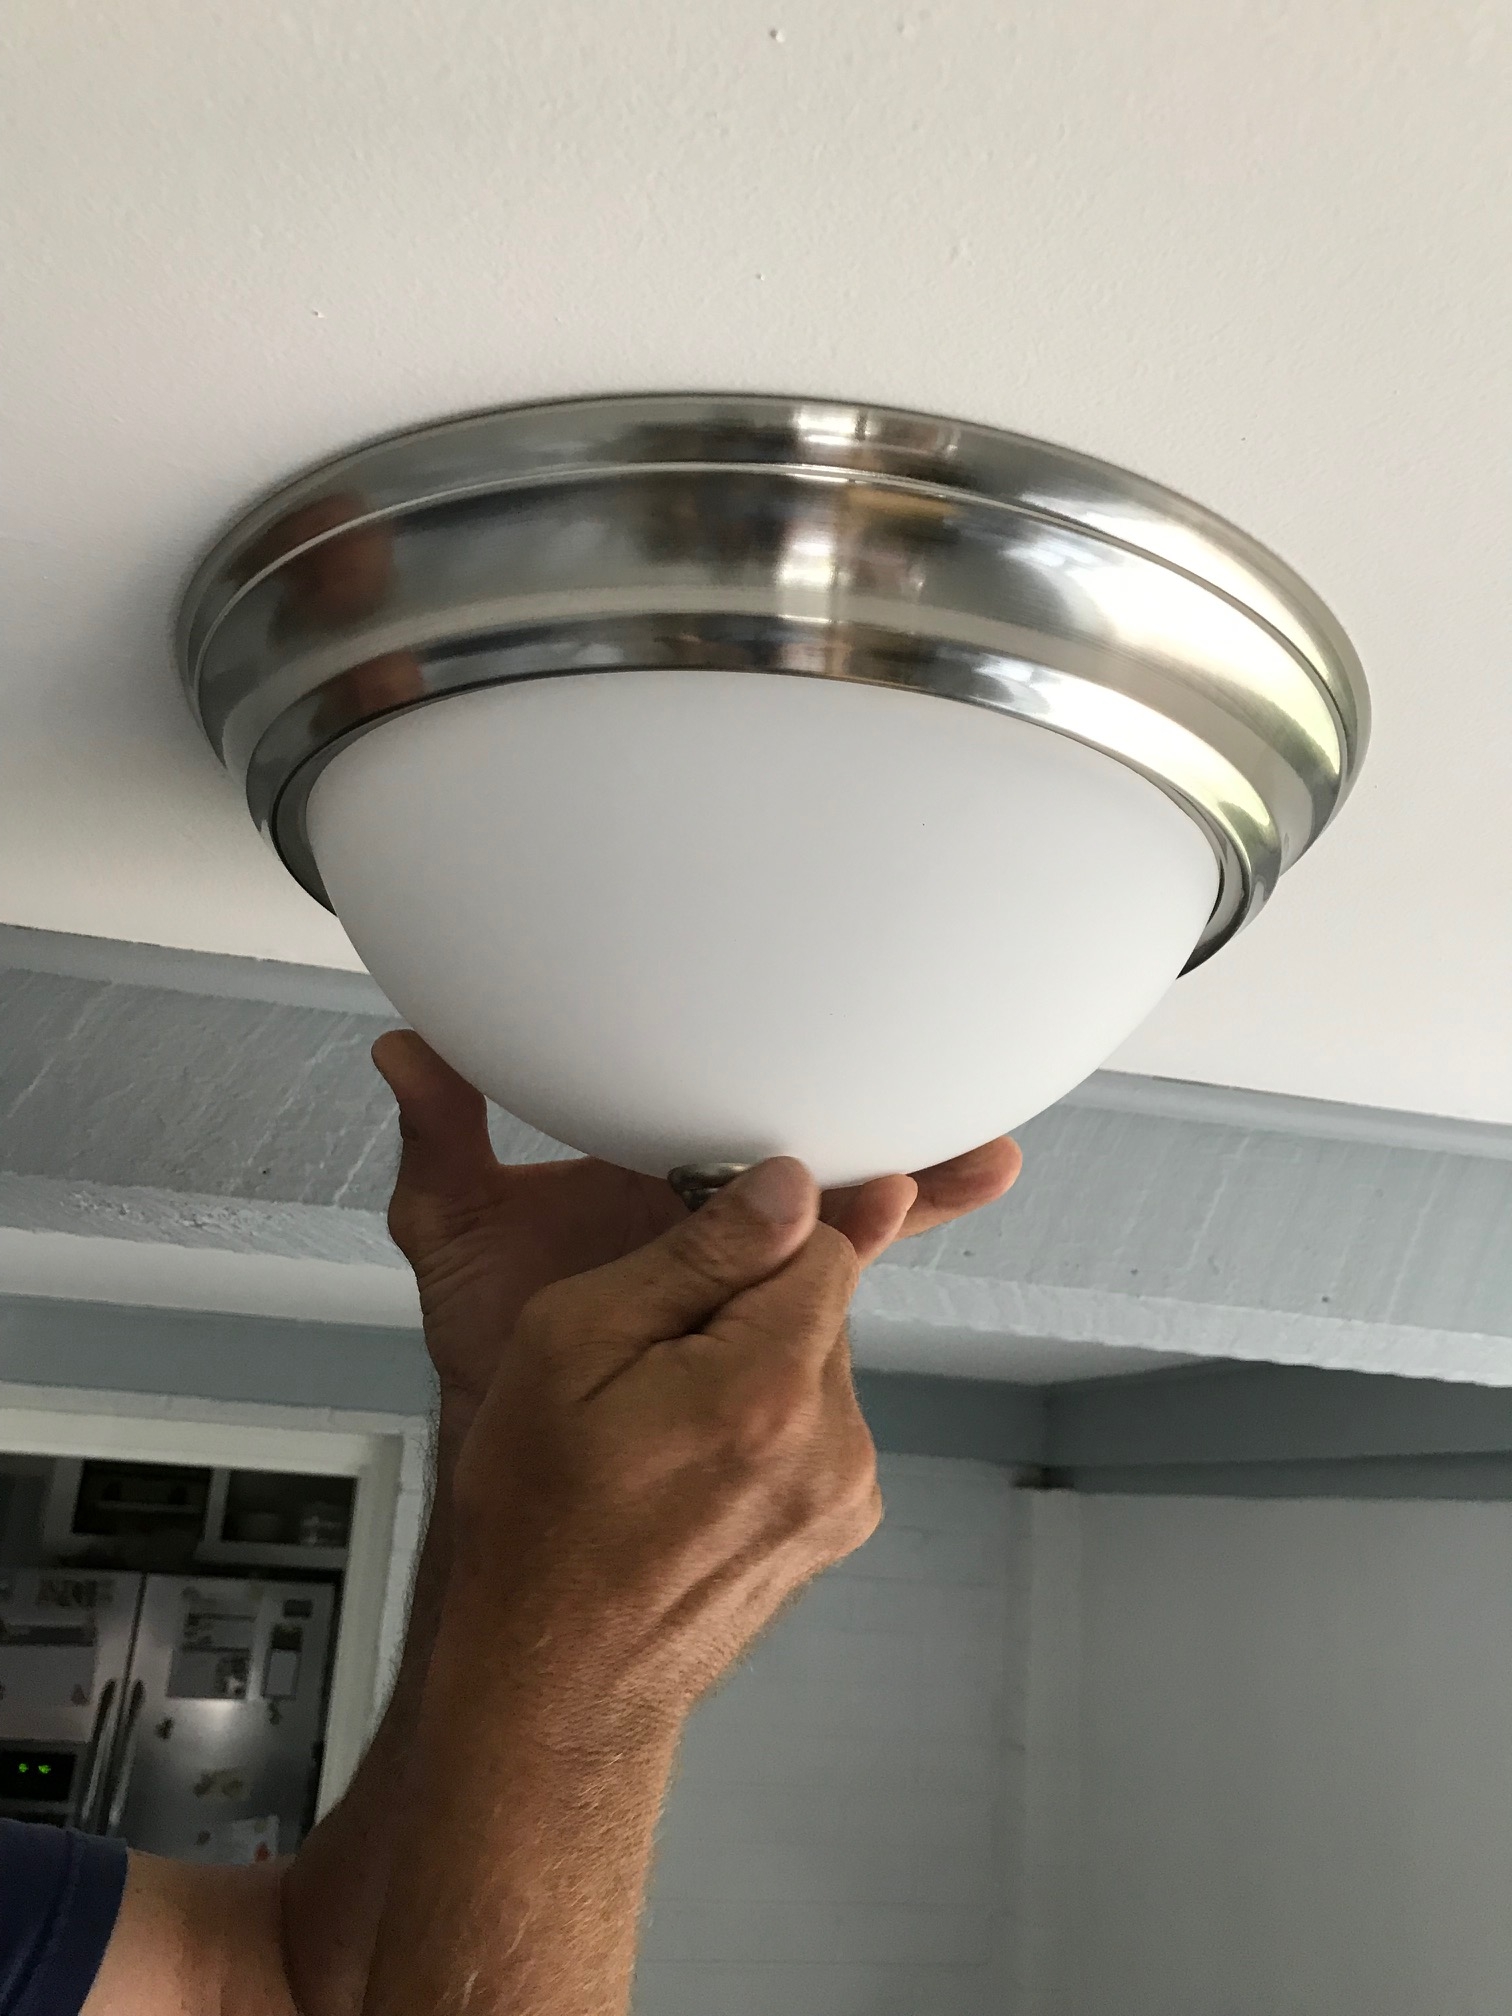
Installing Glass Canopy and Hand Tightening
There is a central threaded rod onto which you attach the canopy via a hole in the center and a special locking nut. Hand tighten that nut to the center rod and you are done.
Lighting fixtures are not especially difficult. With a few simple tips and taking reasonable precautions most anyone can easily install a light fixture in 30 minutes or less. What a difference a new fixture can make in a room!