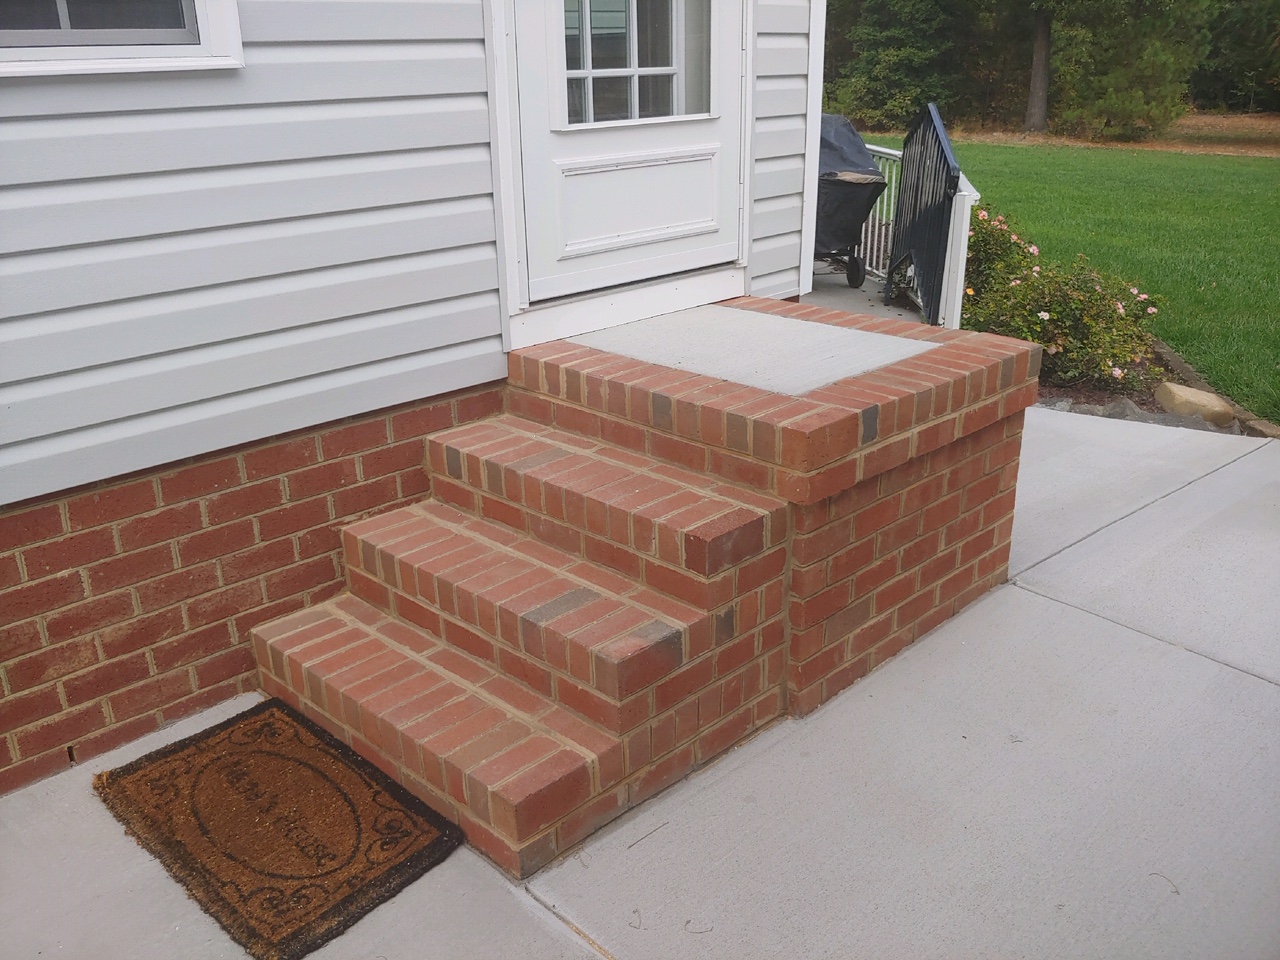
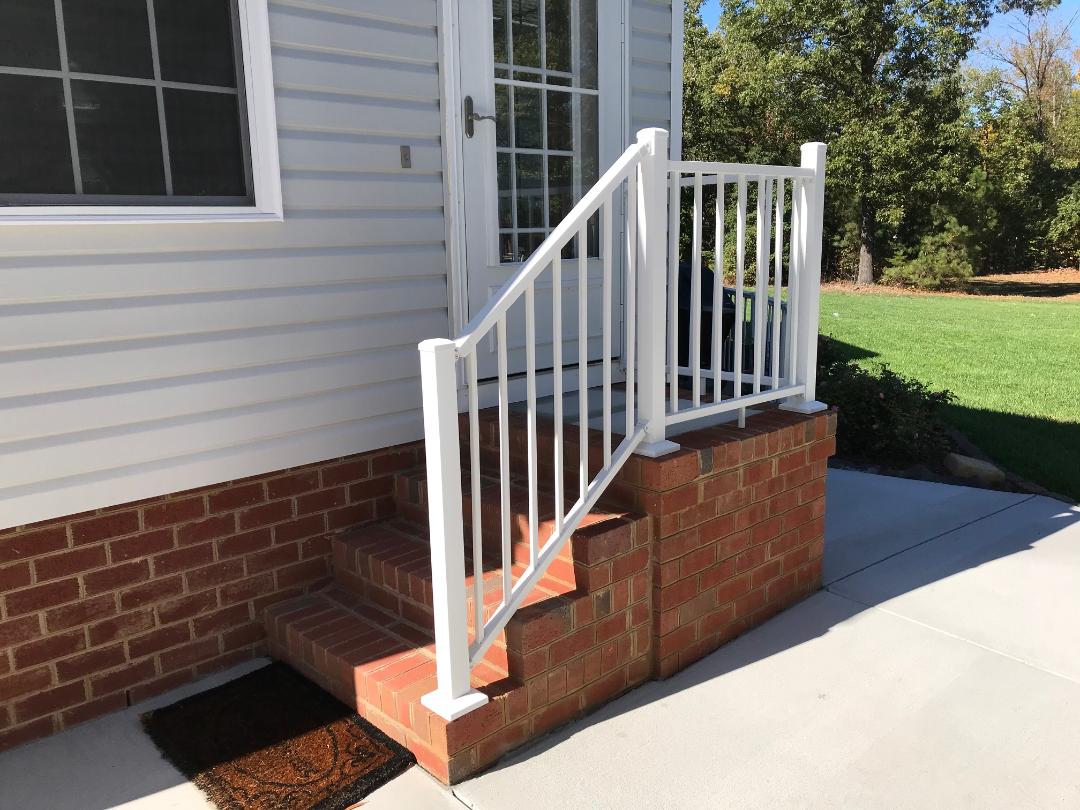
When we bought our present home, one of the many improvements we made was replacing the front step’s hand and stair rails. They were originally black (and rust) wrought iron and were trending (not the rust part) when this house was built. They are still a good choice on a certain style of home. Sometimes however we need to replace and update our handrails or stair rails. Since I recently installed a set of aluminum hand rails on the brick steps as a finishing touch on the sun-room project I had been working on, I thought this would be a good topic of discussion for anybody that might be considering such an update.
After much searching and logging many miles, I chose a rail kit sold at Lowe’s. This particular kit is 2.5 inch aluminum white powder coated. I chose it because it is sleeker than the PVC kits and in the tight space I had it was the best choice. This particular kit comes with a 6’ section of handrails with mounting brackets. Stair rails also come in a separate kit in a 6’ section. The posts are also sold separately but do include base covers and a post cap. You will need to buy screws to anchor it with. If you are going to anchor the posts on a wooden deck you will need to pick up some lag screws (see directions for appropriate length). I needed to anchor my posts into brick so I bought concrete/brick anchors. There are several ways to anchor the posts to brick including epoxy and anchoring cement. I had to work close to the edge of the brick and so as not to risk breaking it, chose plastic anchors.
Step-by-Step Instructions
Set The Posts
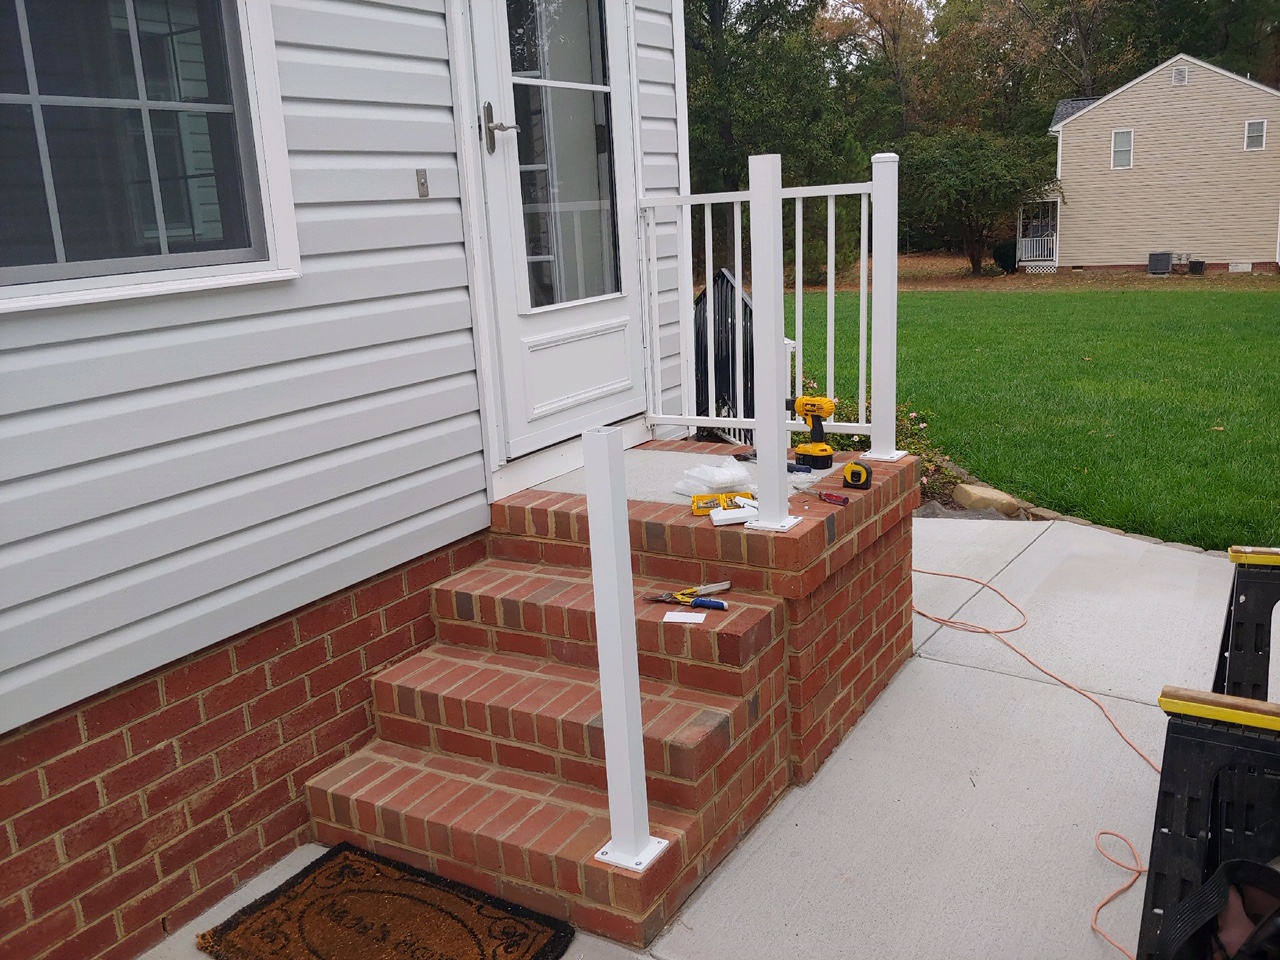
Take your time when determining placement sites. Mark the pre-drilled holes. Remove the posts and carefully drill your holes. If it is in brick near an edge be extra careful. Once your holes are drilled, set the anchors, level the posts and screw down the posts.
Cut the Rails
Measure carefully the exact lengths of top and bottom for your rails between posts. (Tip: If it is not the same length top and bottom then your posts aren’t level—re-level posts before you go on). When posts are level and you have your measurements, subtract the width of the bracket (times two) and cut your rails with the appropriate metal cutting saw. Be sure to wear safety goggles since metal shavings are likely to be flying.
Attach the Rails to the Posts
You will need to mark and pre-drill your holes before using the screws provided to attach the rails. (Tip: Use the rail supports provided for underneath the bottom rail. It will level the rail automatically).
Cut and Attach the Stair Rail
Clamp the section of stair rail to the post at the desired height first. You will need to support the bottom of the rail at the desired height with a spacer. Mark the top and bottom rails for over all length. Subtract the length of the brackets from each end. Cut the rail and attach brackets to rails first. Check for length for accuracy. Once it is correct, mark your holes on your posts. Remove rails, pre-drill holes and then attach stair rails with screws provided.
Once this system is installed it makes for a great looking addition to your home! Have you installed something similar or have a question about replacing your own handrails? Leave it in the comments below!


I found it interesting how you mentioned that your posts aren’t leveled if they aren’t the same length at both the top and bottom. My wife and I are considering looking for a railing fabrication service because we’re thinking of installing handrails on the stairs leading up to our front door. It seems sensible for us to contemplate hiring a reputable service that can help customize the handrails we need to help make our outside stairs as safe and appealing as possible.
Some projects do require hiring a professional, especially if the project needs to be customized as you mentioned here. If you are in the central VA area, let us know if we can help! If you are elsewhere, let us know if you have any questions about finding a reputable service to help. Either way, we are happy to assist!