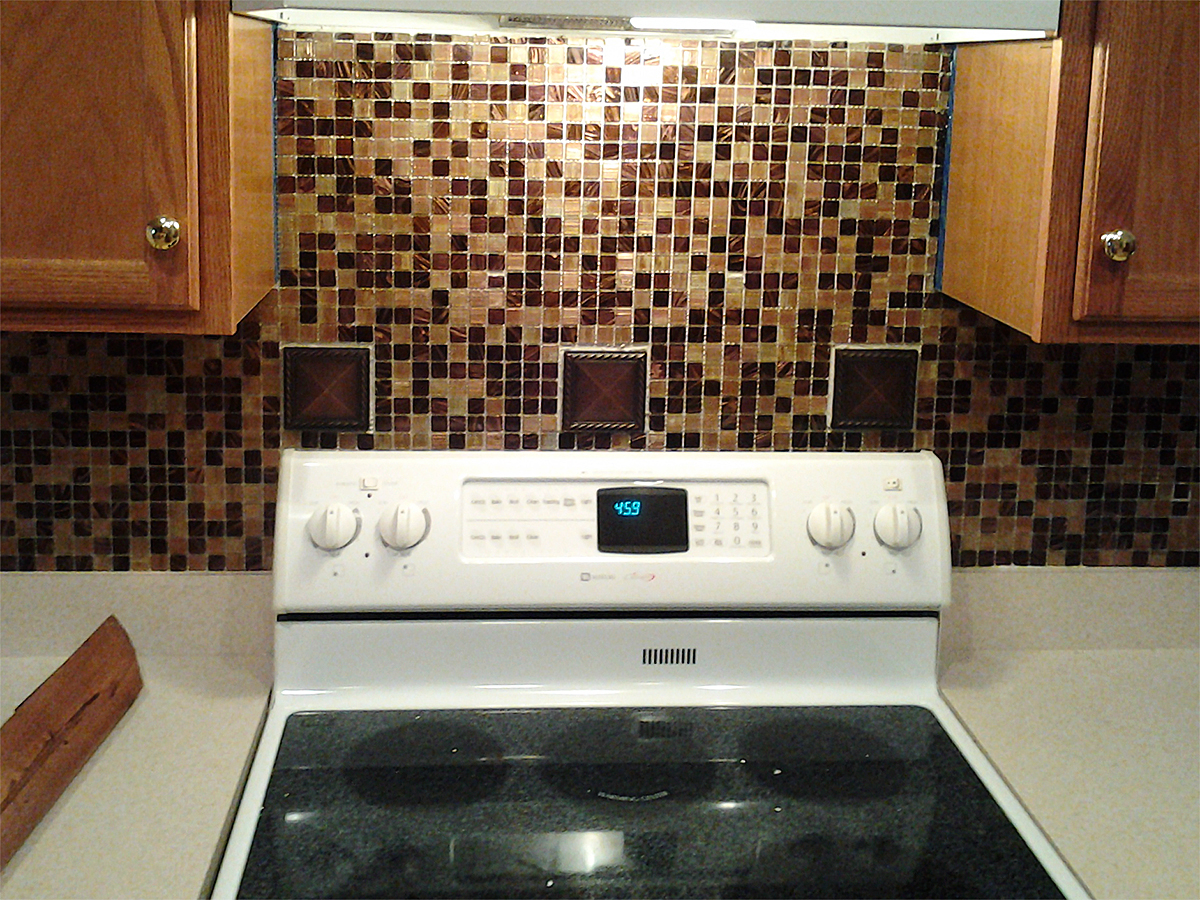
Backsplashes “R” Us Part 2
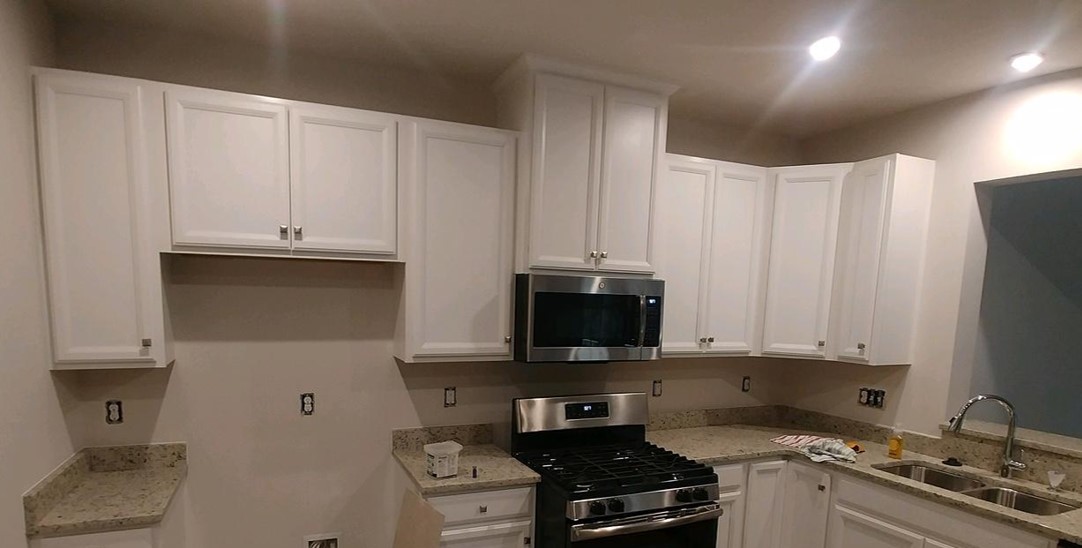
Last week, we introduced a backsplash job DCI is currently working on in a newly constructed home in Chesterfield County. We featured what you need to consider before beginning a tile backsplash and what tools you will need. You can read that part 1 post here. This week we are focusing on the second half of this project – the installation and the final result.
Once your surface is ready and you have all the required tools and materials, you are ready to install! Tiling is not a hard process,but it does require patience and attention to detail. Here’s some helpful tips to make this job easier:
- Check for level: When starting to lay out a backsplash I recommend checking the horizontal level of the area you will be working on. It is not wise to assume the cabinets are level. I often will draw a level line across the whole area I will be covering. To look good, you want your tiles to run straight/level across the whole area you are covering.
- Measure before you start!: You want to avoid having to cut a 1” tile horizontally in half. Trust me on this. I usually try to start with a whole sheet of tiles (which is about 11 ½”). However, this might not work in every case. It could leave you with a half of an inch to cover at the top of the work area. You may need to cut off the first row or two to make the height of the area you are covering easier to work with. This is all part of the planning stage. Plan this part carefully and your tiling experience will be easier and more enjoyable. Measure for width too for the same reason. You don’t want to get to the end and have little tiny pieces to cut and fit in…which brings us to cutting tile.
- Cut the tiles to start: Tiles often are sold in 12” square sheets with “finger joints” on each side. When starting, I usually cut those finger joints off of a square and start my tiling in a corner. When tiling in a corner, always start with the surface farthest away. That way when you tile the surface that is a right angle to it, that seam where the two meet will not show the grout line as readily.
- Methods of cutting tile: I have 4 methods for cutting tile… the Tile Nipper, a handheld rotary 3” saw with a diamond blade, a tile cutter that scores and snaps the tile and a table tile saw with a 7” diamond blade. All 4 can be purchased at your local tile store or DIY store like Home Depot. I would recommend the Tile Nipper and the rotary 3” hand saw with diamond blade for this type of job. They will allow you to make all the cuts you need without spending a ton of money. When cutting tile always use caution and always wear your safety eye wear.
- Apply the adhesive: I use a ¼” toothed mortar trowel on wall tile. You do not want too much mortar or adhesive on the walls. Too much adhesive oozes out between the tile pieces and you end up spending hours cleaning and scraping. In this case, less is best.
- Install the tiles: As you install keep checking your spacing between tile sheet sand also when a piece is put on top…keeping your spaces uniform makes for a neat professional looking job.
- Grout the tiles: After you tile has set (usually the next day) it is time to grout. When mixing your grout, I recommend buying the grout additive. It will seem pricey, and you might be tempted to skip this and just use water to mix your grout. The advantage to the grout additive is that is has a sealer in it already. Your save time by not having to go back and seal your grout. Sealing grout lines in small tile can be extremely tedious. There is also the option of buying grout that is premixed. However, I can’t recommend that product…for me it has looked good at first but has caused issues and been a disappointment later. I have had the best results with grout I mixed myself.
Maintenance for tile basically includes keeping it clean.The tile you choose for your backsplash will determine how to do this. A basic solution of 1-part vinegar and 1-part hot water will clean regular tile and glass tile efficiently. For stone or marble tile, use a solution of a 3 drops(marble) or 5 drops (stone) of liquid soap and 4 cups of water. For marble, wipe with a damp cloth first then dry immediately before washing with the solution then rinse and dry thoroughly. For stone, rinse with warm water after washing and dry with a clean cloth.
So, without further ado, here’s the final result on the most recent tile job DCI has completed!
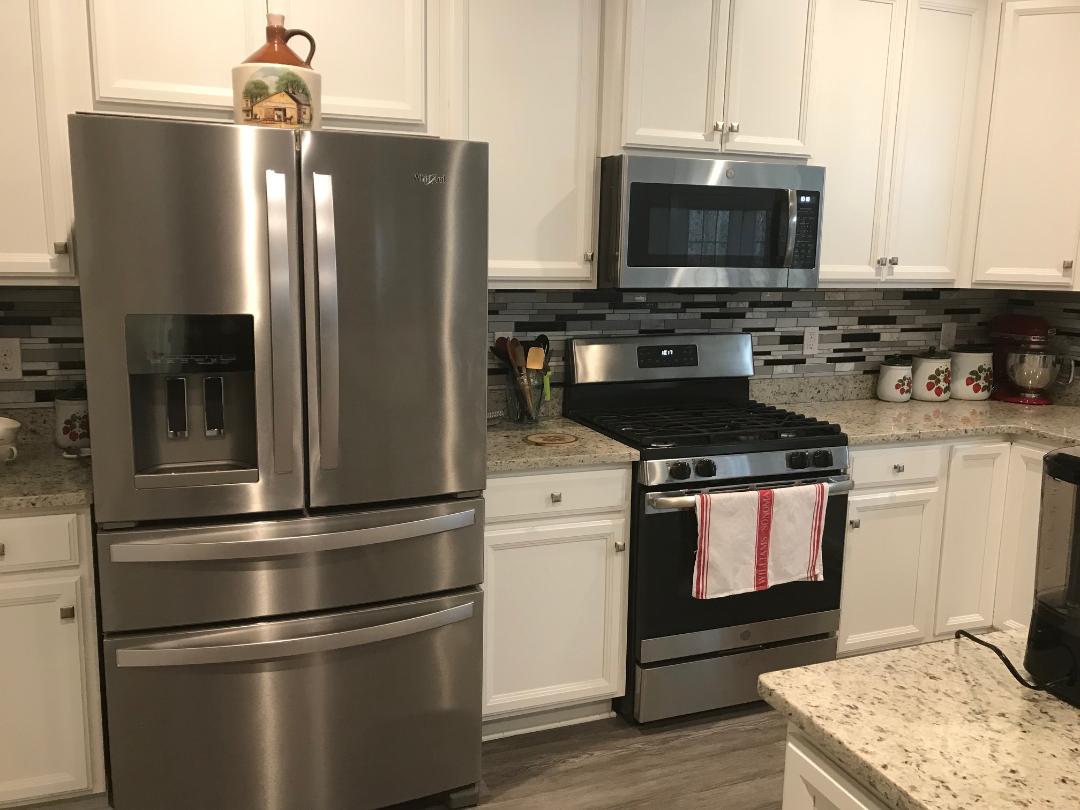
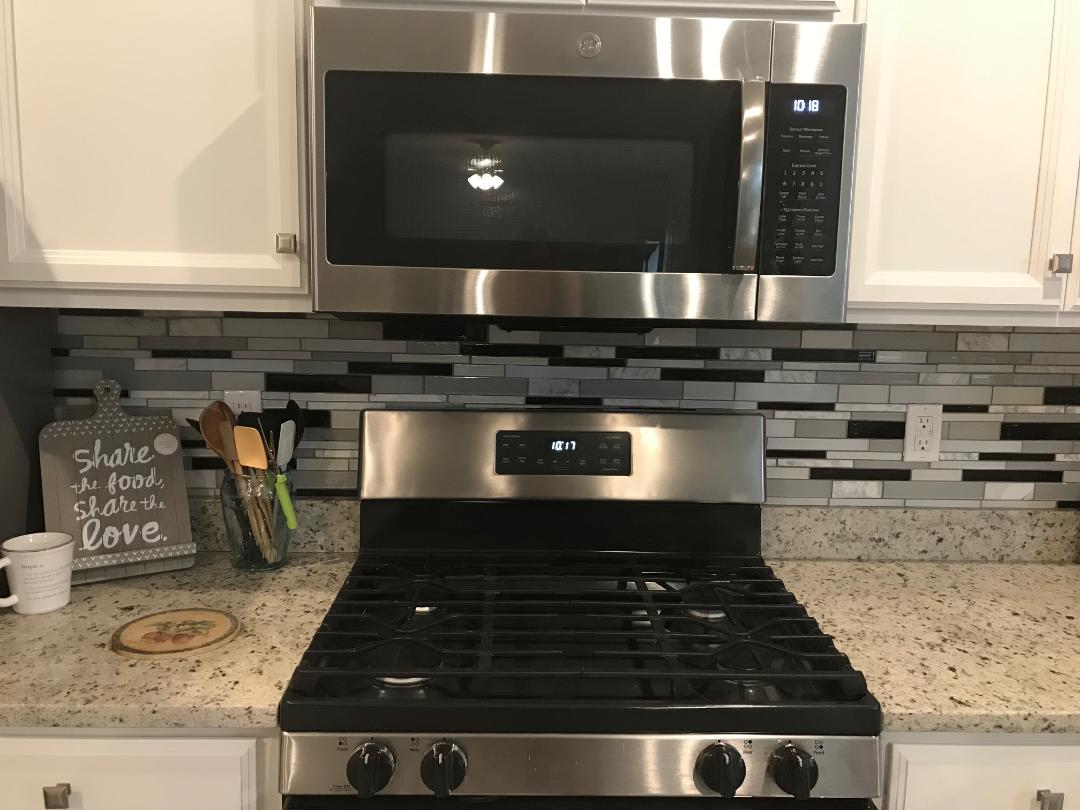

Tile is an inexpensive way to update and add some visual interest to your kitchen. It can be a good DIY project for those willing to grab the trowel and get going. If you are considering updating your backsplash or installing a new one, give it try yourself or give us a call at DCI!
The links to external sites in this post are affiliate links, and we will be compensated when you make a purchase by clicking through our links.