Backsplashes “R” Us!
One of the most requested updates to a kitchen that DCI receives is a new backsplash and the request is nearly always for tile. A tile backsplash is affordable, classic (unlikely to become dated too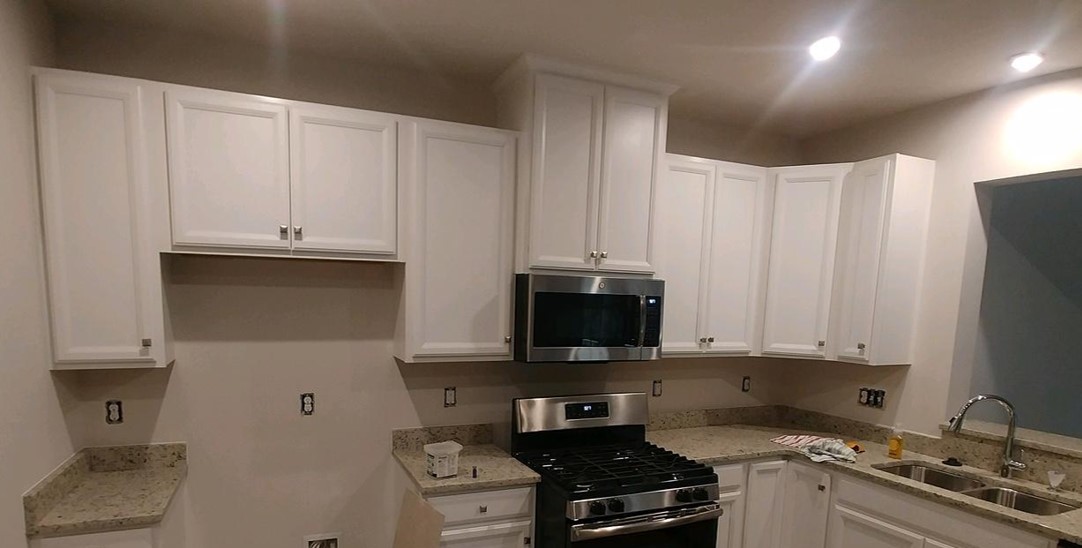 soon) and currently, extremely popular. DCI has recently completed a backsplash on a newly constructed house in Chesterfield County. This post will focus on the “before” look and things you need to think about before installing a tile backsplash.
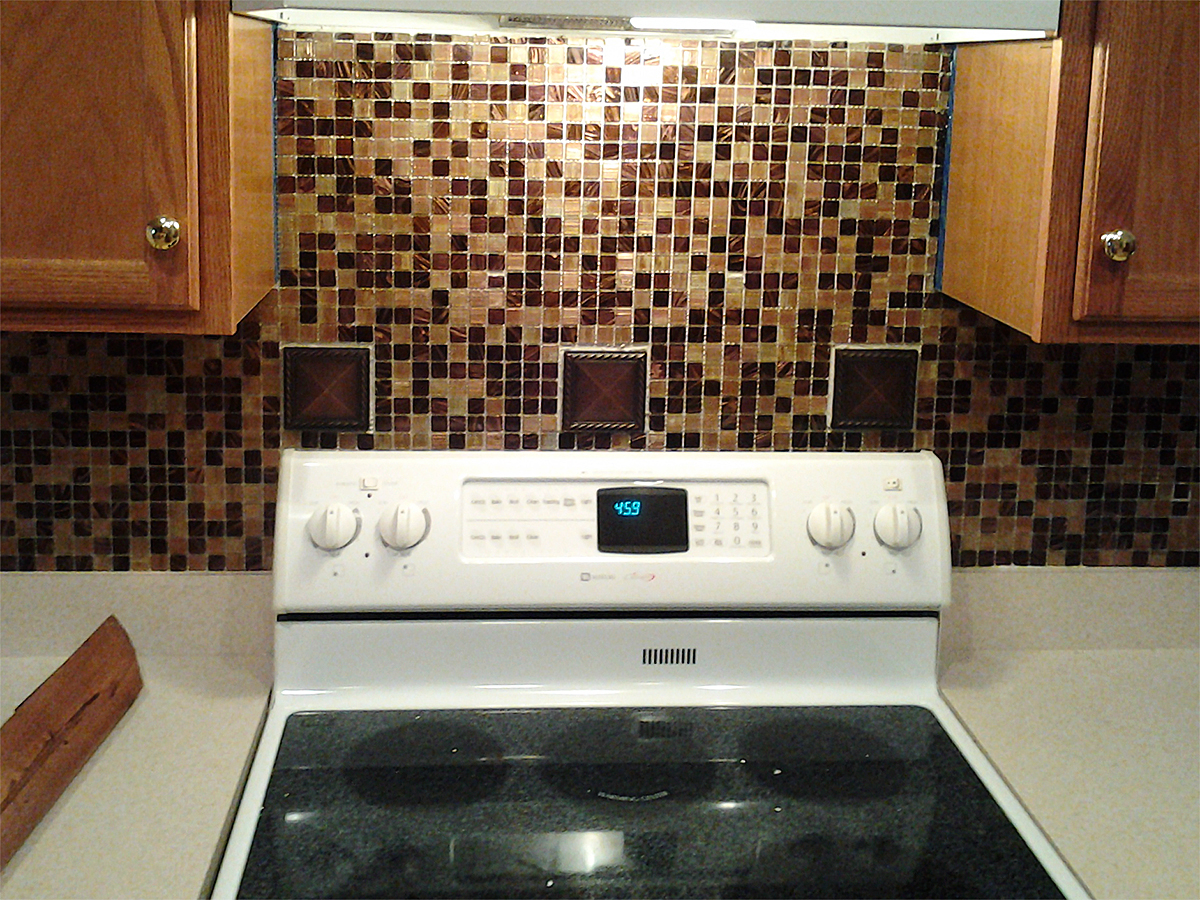
- Types of tile – There a many different types of tile to choose from for a backsplash – ceramic, porcelain, glass, cement and stone are all good for this purpose. Consumer Reports https://www.consumerreports.org/cro/news/2015/01/the-best-tile-for-floors-counters-and-backsplashes/index.htm has a great break down of each of these including price, “best for” and considerations. The homeowners on this DCI project chose a glass tile colored in blacks and grays to compliment the similar coloring in their granite countertops. This turned out to be a great choice! The backsplash pulls everything together visually while adding dimension to the space.
- Sources for tile– Your DIY stores like Home Depot have a decent selection of tile and usually stock some of the more trending styles. But for more options look for a tile store in your area. One I use in the Richmond area is Floor and Decor. They stock a huge variety of tiles and because tile is all that that they do, you are able to get expert advice in store. Once you have picked out what tile you want the next step is the surface preparation.
- Is the surface ready for tile? – What is currently on the surface where you’d like to have a backsplash? Most common is drywall or plaster surfaces and the good news is that you can tile over painted or unpainted drywall or plaster without any additional surface preparation. All you need is tile adhesive( sold at tile stores prepackaged) and a ¼” notched trowel to spread it on with. If however you have wood or plywood surfaces, then you will need to install ¼” backerboard to those surfaces before tile can be placed there. Backerboard has a surface that the tile adhesive can grip and is reinforced to be rigid and strong to hold the weight of the tile.
- Tools/Equipment/Supplies – There are several tools required to install tile, but none are expensive or difficult to use. You will need the following:
- Notched trowel/float
- Sponge
- Bucket
- Tape Measure
- Straight Edge
- Level
- Tile Adhesive
- Tile Cutter
- Utility Knife
- Wall tile
- Mortar
- Sealer
- Grout
- Cheesecloth
Next week look for the “after” post featuring the installation steps and the final result of our current project in Chesterfield. In the meantime, check out previous backsplash jobs DCI has done below and perhaps be inspired to think about doing your own or calling us to do it for you!