Now that you have your paint and your other tools described in Part 2 of this series….lets start painting that room. If you are not painting the ceiling at this time then start by moving all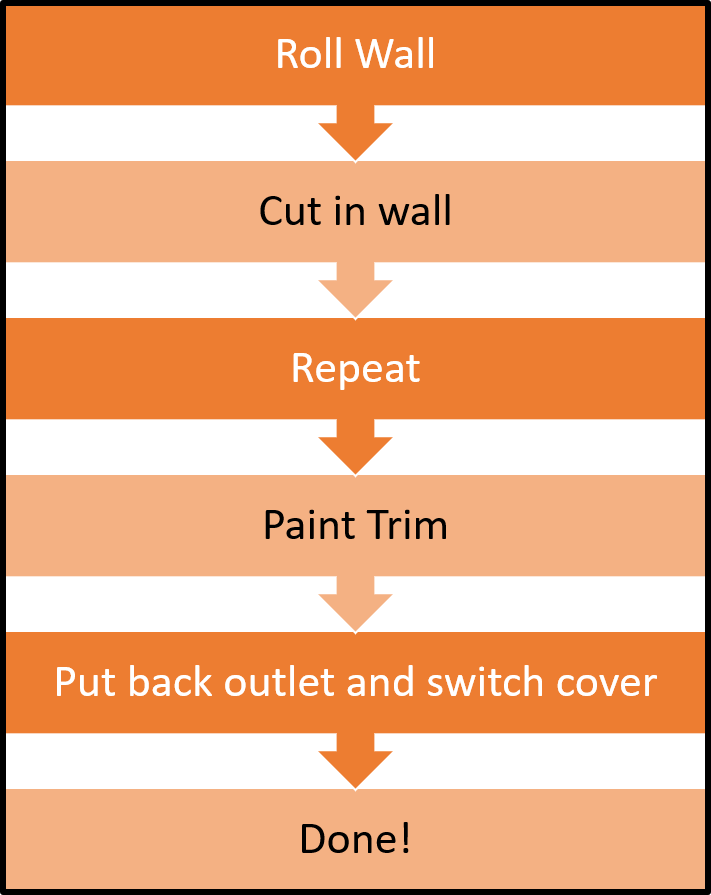 objects and furniture towards the center of the room. Leave yourself at least 2 feet of free space around each wall to work (more than that is even better). Take off all outlet covers and tape over outlets and switches. Trust me, this is a time saver in the long run. Tape off all baseboard, door casing and window casings starting at the point the wood meets the wall. This will take a little while but is also well worth your time. When you tape off the baseboard, do not wrap tape over edge of baseboard but rather firmly tape down one edge of tape flush with wall and let it stick out horizontally. This acts like a mini “roof” over the rest of the baseboard. Many times as you are rolling a wall, extremely small flecks of paint come off the roller…mostly unseen. It is not until later, after they have dried, that you notice these tiny little micro droplets on your baseboard. If you let your tape stick out as described above…this won’t be problem.
Roll your wall
With your drop cloth down next to your wall up tightly against your baseboard, and all your trim taped, you can begin painting. If it has been a few days since you bought your paint….you will need to mix your paint after opening the can. Paint that sits tends to have the colors separate out. Load your roller up and start rolling the wall. I roll within about two inches of the corners and all trim. As I near the ceiling I slow down and roll to within about 4 inches of the ceiling. Getting too ambitious near the ceiling invariably causes a slip and then you have to try and clean paint off the ceiling. After you have rolled the wall with one good coat, load the roller with paint up only about 3 inches and turning the roller sideways roll slowly to within about an inch of all edges. Stop rolling and place your roller in a plastic grocery or similar bag taking care to cover the roller firmly and completely and removing any air bubbles. Set the roller aside on another drop cloth or scrap news paper (in case it leaks) for the second coat of paint later. The plastic bag will keep it from drying and you can start immediately using it next time you need it.
Cut in your wall
Now take you paint cup and pour in about a cup of paint. You don’t need much paint for this step and a heavy cup slows you down. Don’t put too much in. Take your cut-in brush and load it up about halfway up the bristles and then wipe off excess on the inside of your cup. Take you time and begin in a corner or next to your tape on some door trim. I recommend you paint your taped edges as if you don’t have tape there. Paint carefully right up to the edge of the tape trying not to go over onto the tape. It is good practice and it also makes for a neater job should your tape pull up slightly on that edge. Do the ceiling edge last. Get a step stool or small ladder for this part. You want to be at a comfortable height and close to your work. By now your practice should allow you to pull a straight line right at ceiling.
Repeat the process again
When you have the wall and trim cut in( painted), touch your wall to see if it feels dry to the touch. If it is dry to the touch it is probably ready to repaint. Latex, depending on temperature and humidity, dries pretty fast. Within an hour a wall is usually ready to repaint. If you are uncertain, start another wall and let that wall dry for another hour or so. When you get it rolled again you will probably need to go back and cut-in again around the ceiling and trim. When that is finished, you are done with that wall. Go ahead and pull your masking tape off. Don’t wait too long to pull the tape off the trim… if you let the paint dry for half a day or longer it can pull your new paint away from you wall and leave a ragged edge that you will have to repair.
Painting the trim work
Depending on the width of your trim you may want to purchase a wider brush( wider trim…bigger brush). This just makes the job go quicker. I have a 3″ brush and even a 4″ brush that I use on occasion for those really wide trim pieces. Once again, buy a good brush….you will be glad later. Tape off at floor level pushing the tape under the baseboard if possible and if not possible, then pushing it as close to the baseboard as possible. Put your drop cloth on the outside edge of the tape. Prepare for a few drips. I usually take the wide brush and paint the wide portion of the trim first (baseboard, window trim, crown molding) being careful not to get too close to the edges. Then with a 2″ or 2 1/2″ brush carefully cut in around the edges. If you have carpet, you will have to be especially careful around the bottom of your baseboard. This also will probably take two coats to get even coverage. When you have both coats of paint on, let it set up for an hour or so and pull that tape up.
Put your outlet and switch covers back up
Pull your tape off your outlets and switches and install your covers. You are now done with that wall. Stand back and take a look! Pat yourself on the back for a job well done and move on to the next wall.
As we said in the very first Painting 101 post, painting is one of the most affordable DIY home projects that can have amazing results. If you have a question or a lesson learned about painting, leave it in the comments below. We’d love to hear it!