Before we moved into this house, I renovated the kitchen. I wish we had kept the “before” pictures, but trust me, it was bad. The renovation process included installing tile backsplashes between the cabinets, new appliances, replacing the linoleum with tile on the floor and painting the kitchen including cabinets, doors and drawers. It looked really sharp when I finished and Sherri was thrilled with the improvements. Now fast forward 8 years. It looks pretty much the same. What doesn’t look the same is the cabinet doors and drawers. Much use has left the face of the doors and drawers looking marred and with some chipped paint. Fortunately, touching up paint on cabinet doors and drawers is an easy fix and a fix that can restore your kitchen’s appearance to looking like new once again. If your cabinets could also use a face lift, then we can offer a few tips and suggestions to make the process easier.
Step 1: Clean
The first thing you will want to do is to thoroughly clean the doors and drawers. Often, a lot of what makes kitchen cabinets look bad is micro-splatters of cooking grease. If you use your kitchen much, it is inevitable for food splatters, and grease splatters to occur and most often they go unnoticed. To cut tiny drips and grease use a cleaner designed to cut through grease. I use 409 spray cleaner. It seems to work pretty well though there may be better ones available. Once your surfaces are clean you may notice chips in your paint around the pull handles and knobs. That also is normal on cabinets that have been painted and are well used.
Step 2: Match Paint
If you are going to touch up like I did, you are going to have to match your paint. These cabinets were originally painted white and I remembered using Valspar paint. What I wasn’t sure about was the sheen. I thought it was a Satin and we tried a sample and that turned out to be correct. You may have to try a few samples by painting it on and then letting it dry. Once you have your paint chosen it is time to start painting.
Step 3: Remove Hardware Before Painting
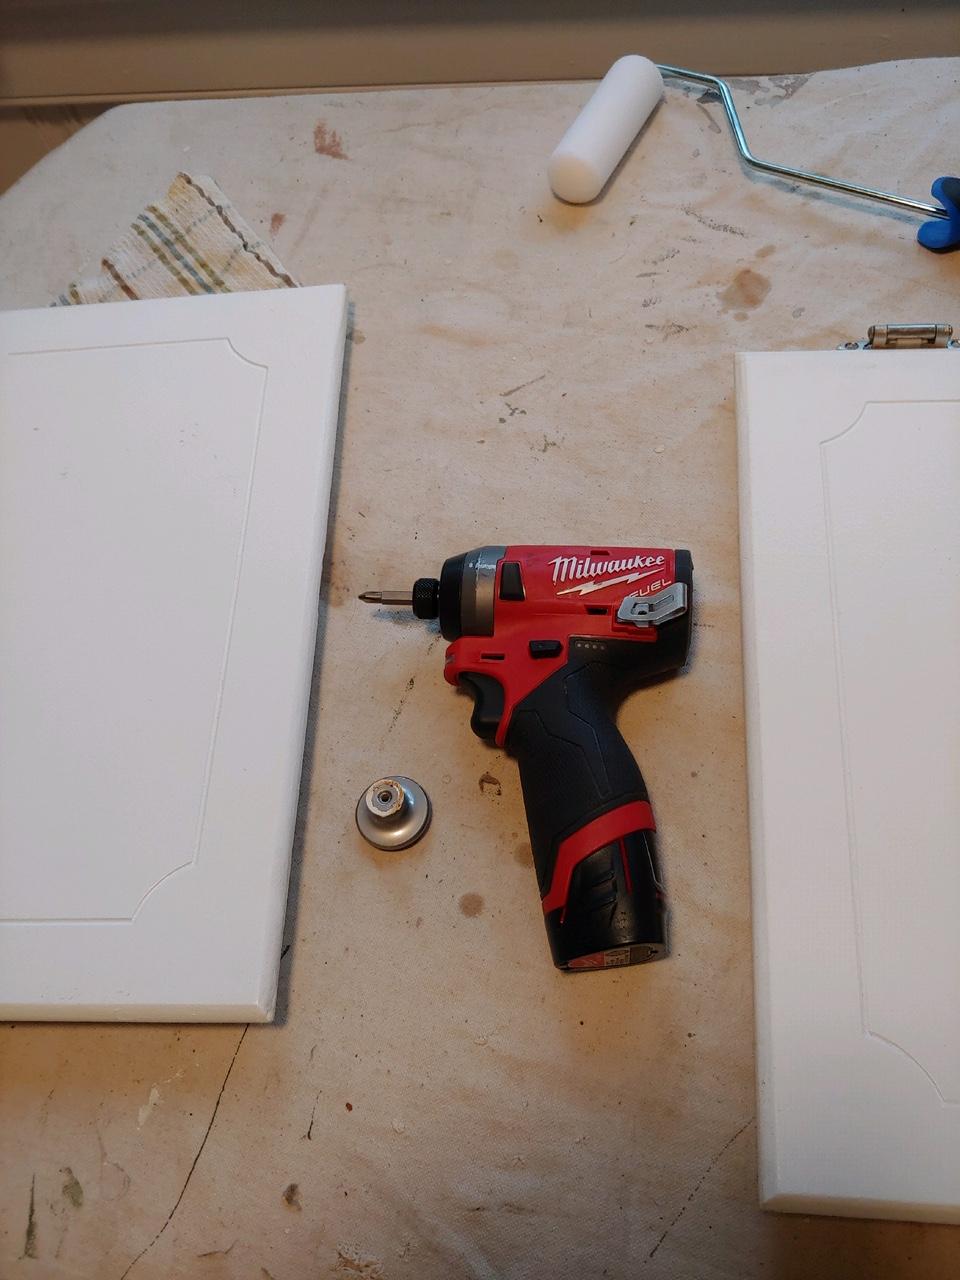 On cabinets I like to use a 4” foam roller. It gives a smoother more even coat than most paint brushes can. That being said, most of the chipping on doors and drawers occurs around the pull knobs or handles. Let’s face it, those spots are not the easiest to paint around especially with a roller. I recommend just taking the handles off. Generally, they are held on with a Phillips head screw or two. It is much easier to take them off than to try and paint around them or tape them off.
Tip: Use a cordless drill with a Phillips head bit. Just set the drill to the “reverse” setting and it will quickly back those screws out. Also, when you go to put them back, use the drill in the “forward” setting.
Step 4: Paint!
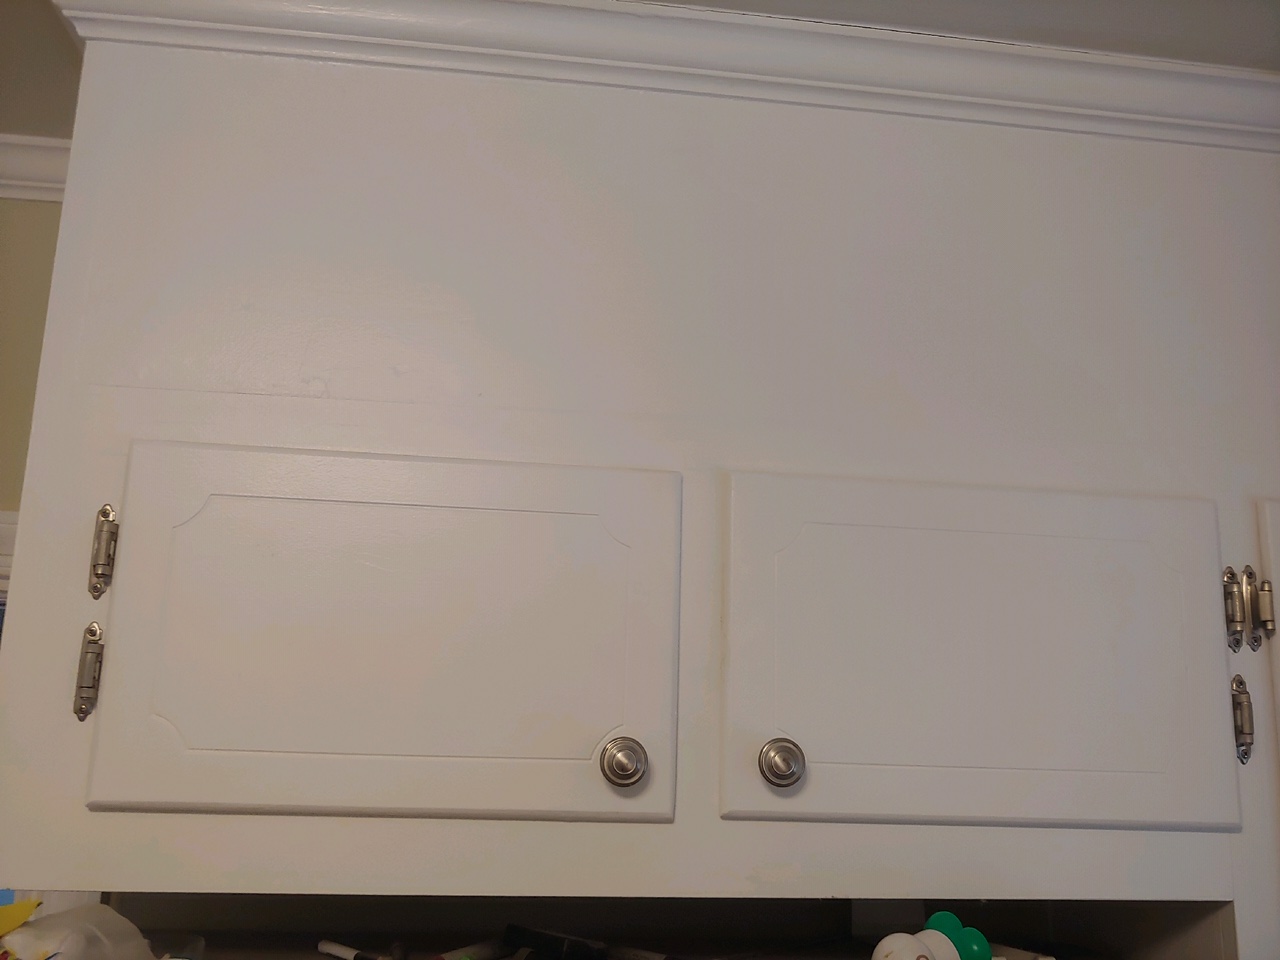 If you are just touching up around handles and pulls, there is no need to take the doors off the cabinets. Just paint them in place, put down a drop cloth and paint where needed leaving the doors open as they dry. In a couple of hours, you can put the handles and knobs back on and close up the doors. Remember, latex paint takes at least a few days to get hard so you will need to be cautious when opening and closing for a few days so as to not mess up the fresh paint.
The links to external sites in this post are affiliate links, and we will be compensated when you make a purchase by clicking through our links.