There are advantages to every season and for winter, those can include hot chocolate, a warm fire and the excuse to spend time daydreaming and planning the home improvement projects you want to do once spring arrives. DCI wants to help you indulge in the blessings of wintertime! To help you get started planning, click here to download a free printable home project planning list!
Also now through January 31, 2019, Home Depot is offering a discount of $5 off of $50 with code: THD185500 when you place an order online. Click here to visit Home Depot online!
So, go ahead! Enjoy the coziness of winter while planning your home improvements projects for 2019 and please contact DCI if we can help!
The links to external sites in this post are affiliate links, and we will be compensated when you make a purchase by clicking through our links.
https://dosherconstruction.com/wp-content/uploads/2014/11/dci-header-logo.png00Jameshttps://dosherconstruction.com/wp-content/uploads/2014/11/dci-header-logo.pngJames2019-01-29 17:29:422019-01-29 17:41:46A Free Printable Download and a Discount!
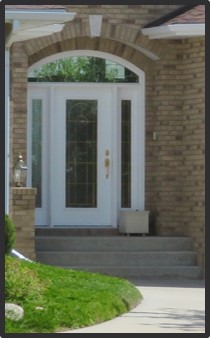
Exterior doors can last a lifetime if properly maintained. They can also be a big problem if they are not maintained. Newer construction over the years has trended towards more narrow eaves to reduce wind damage in case of hurricanes and tornadoes. The side effect, unfortunately, is that it leaves the exterior doors more exposed to rain and snow especially on the north side of the home. Without the sun drying those doors, more maintenance will be required to keep those door frames from rotting. I see a lot of wooden door frames rotting down at the threshold. I have recently added an apartment complex as a customer and at this point the bulk of my business has been repairing door frames.
Part 1 of this post will address how to avoid rotting door frames. Part 2 addresses how to repair it them if you need to.
How to avoid rotting door frames:
Paint: You must keep those door frames sealed from the elements. I installed new exterior doors on my own home 2 years ago and at the time painted the door frames. Recently, I painted them again. I didn’t want to paint them again. I had other more fun things I could have been doing. I painted them again though because it was time and I wanted to avoid a larger repair job in the future. You know it is time to paint when you see dark spots forming on your wood near the thresh hold. Those dark spots are indicators that mold is starting to penetrate your paint. When the mold penetrates your paint, it starts eating your wood next. That is when you have a problem. It is time to clean with bleach water and repaint.
Replace what wood you can with PVC trim: Problem areas like the north-side of your house or a shaded side of your house due to trees, may need extra measures. Using PVC brick moulding to trim around your exterior door is a cost-effective way to shield your door frame from rot. In effect you will be replacing the wood trim with rot free PVC trim. By doing this you need to realize that the door frame is still wooden, but at least you won’t have to worry about the trim rotting and it gives the mold less of a place to start.
By far the best solution to rotting door frames, is to be proactive and to keep an eye on them. Clean the mold off and keep them sealed with a quality paint. If they do start to rot and you catch it early, you can make the repairs yourself. Part 2 of this post will address DIY repairs. This will extend the lifespan of your door beyond your own…and save you time, money and stress in the long haul.
The links to external sites in this post are affiliate links, and we will be compensated when you make a purchase by clicking through our links.
https://dosherconstruction.com/wp-content/uploads/2014/11/dci-header-logo.png00Jameshttps://dosherconstruction.com/wp-content/uploads/2014/11/dci-header-logo.pngJames2019-01-24 14:11:242019-02-13 22:36:52Exterior Doors - Part 1
Last week, we introduced a backsplash job DCI is currently working on in a newly constructed home in Chesterfield County. We featured what you need to consider before beginning a tile backsplash and what tools you will need. You can read that part 1 post here. This week we are focusing on the second half of this project – the installation and the final result.
Once your surface is ready and you have all the required tools and materials, you are ready to install! Tiling is not a hard process,but it does require patience and attention to detail. Here’s some helpful tips to make this job easier:
Check for level: When starting to lay out a backsplash I recommend checking the horizontal level of the area you will be working on. It is not wise to assume the cabinets are level. I often will draw a level line across the whole area I will be covering. To look good, you want your tiles to run straight/level across the whole area you are covering.
Measure before you start!: You want to avoid having to cut a 1” tile horizontally in half. Trust me on this. I usually try to start with a whole sheet of tiles (which is about 11 ½”). However, this might not work in every case. It could leave you with a half of an inch to cover at the top of the work area. You may need to cut off the first row or two to make the height of the area you are covering easier to work with. This is all part of the planning stage. Plan this part carefully and your tiling experience will be easier and more enjoyable. Measure for width too for the same reason. You don’t want to get to the end and have little tiny pieces to cut and fit in…which brings us to cutting tile.
Cut the tiles to start: Tiles often are sold in 12” square sheets with “finger joints” on each side. When starting, I usually cut those finger joints off of a square and start my tiling in a corner. When tiling in a corner, always start with the surface farthest away. That way when you tile the surface that is a right angle to it, that seam where the two meet will not show the grout line as readily.
Apply the adhesive: I use a ¼” toothed mortar trowel on wall tile. You do not want too much mortar or adhesive on the walls. Too much adhesive oozes out between the tile pieces and you end up spending hours cleaning and scraping. In this case, less is best.
Install the tiles: As you install keep checking your spacing between tile sheet sand also when a piece is put on top…keeping your spaces uniform makes for a neat professional looking job.
Grout the tiles: After you tile has set (usually the next day) it is time to grout. When mixing your grout, I recommend buying the grout additive. It will seem pricey, and you might be tempted to skip this and just use water to mix your grout. The advantage to the grout additive is that is has a sealer in it already. Your save time by not having to go back and seal your grout. Sealing grout lines in small tile can be extremely tedious. There is also the option of buying grout that is premixed. However, I can’t recommend that product…for me it has looked good at first but has caused issues and been a disappointment later. I have had the best results with grout I mixed myself.
Maintenance for tile basically includes keeping it clean.The tile you choose for your backsplash will determine how to do this. A basic solution of 1-part vinegar and 1-part hot water will clean regular tile and glass tile efficiently. For stone or marble tile, use a solution of a 3 drops(marble) or 5 drops (stone) of liquid soap and 4 cups of water. For marble, wipe with a damp cloth first then dry immediately before washing with the solution then rinse and dry thoroughly. For stone, rinse with warm water after washing and dry with a clean cloth.
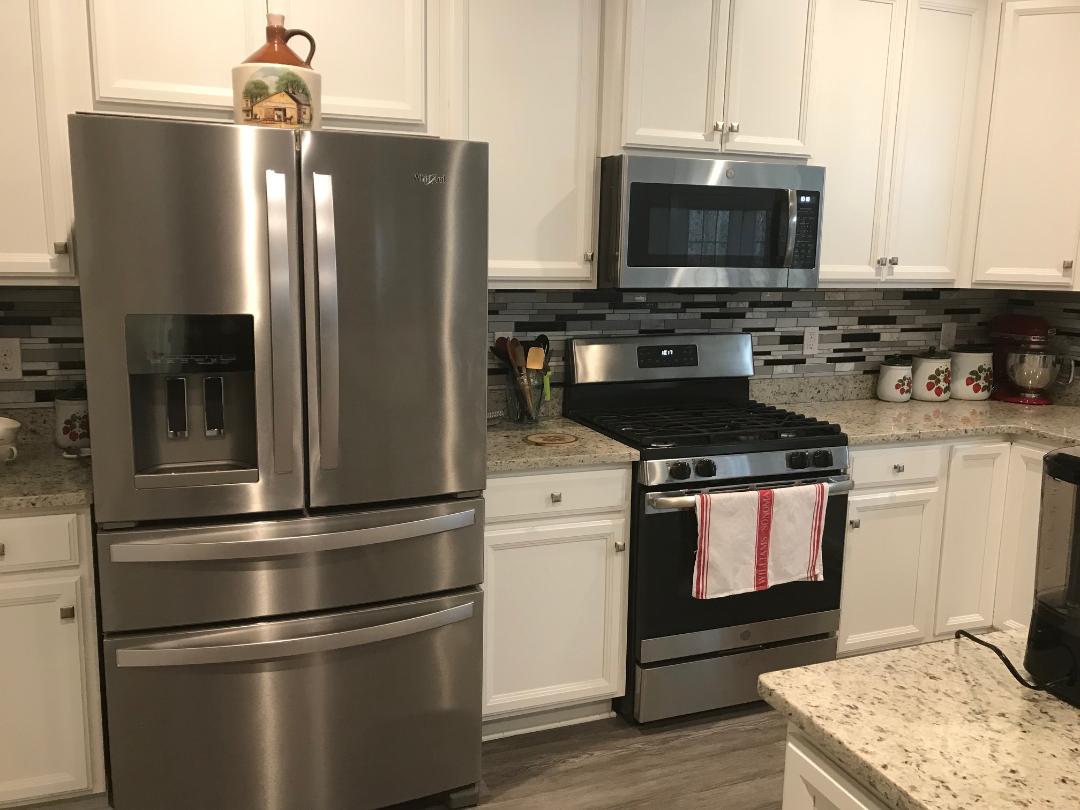
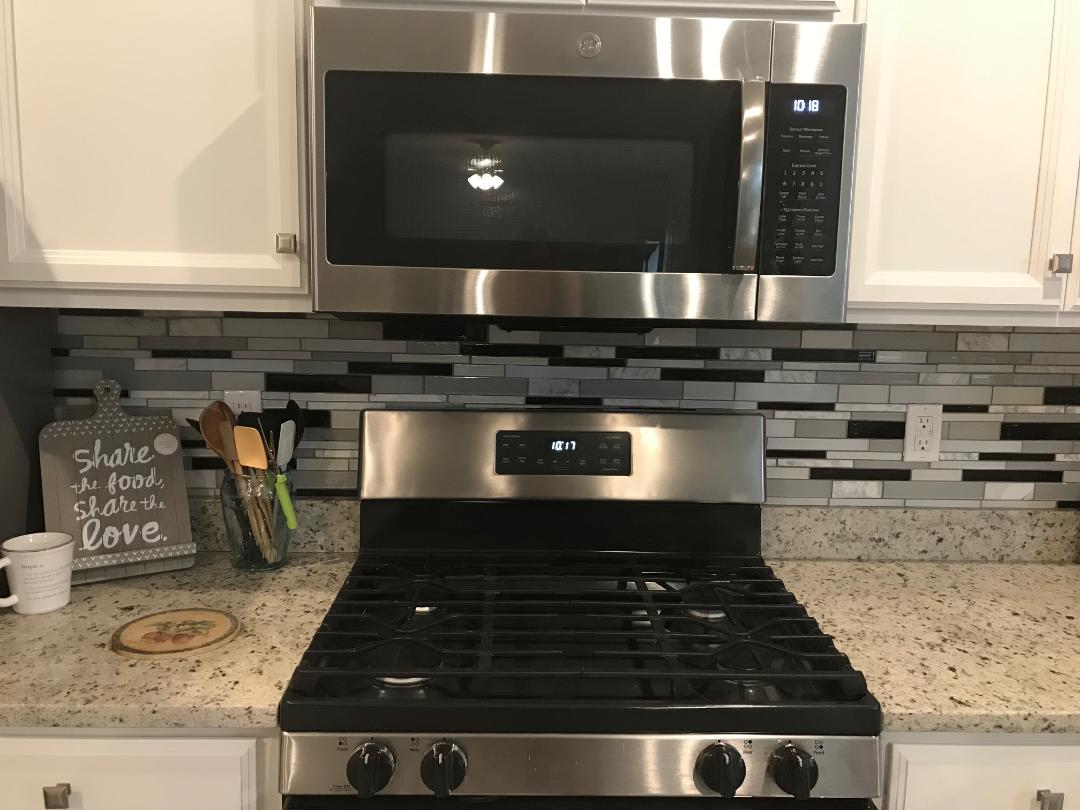
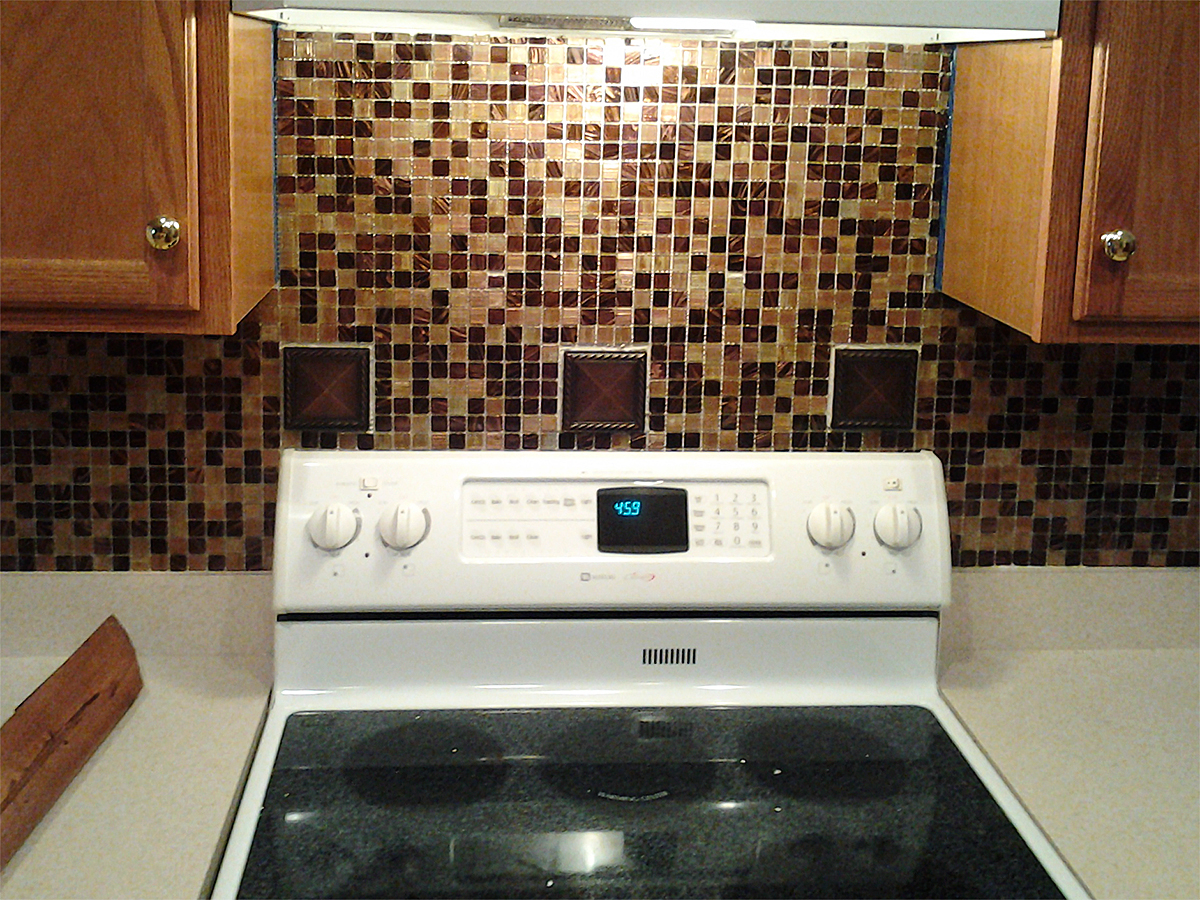
So, without further ado, here’s the final result on the most recent tile job DCI has completed!
After #1After #2 After #3
Tile is an inexpensive way to update and add some visual interest to your kitchen. It can be a good DIY project for those willing to grab the trowel and get going. If you are considering updating your backsplash or installing a new one, give it try yourself or give us a call at DCI!
The links to external sites in this post are affiliate links, and we will be compensated when you make a purchase by clicking through our links.
https://dosherconstruction.com/wp-content/uploads/2014/11/dci-header-logo.png00Jameshttps://dosherconstruction.com/wp-content/uploads/2014/11/dci-header-logo.pngJames2018-12-10 13:33:062019-02-13 22:38:09Backsplashes "R" Us Part 2
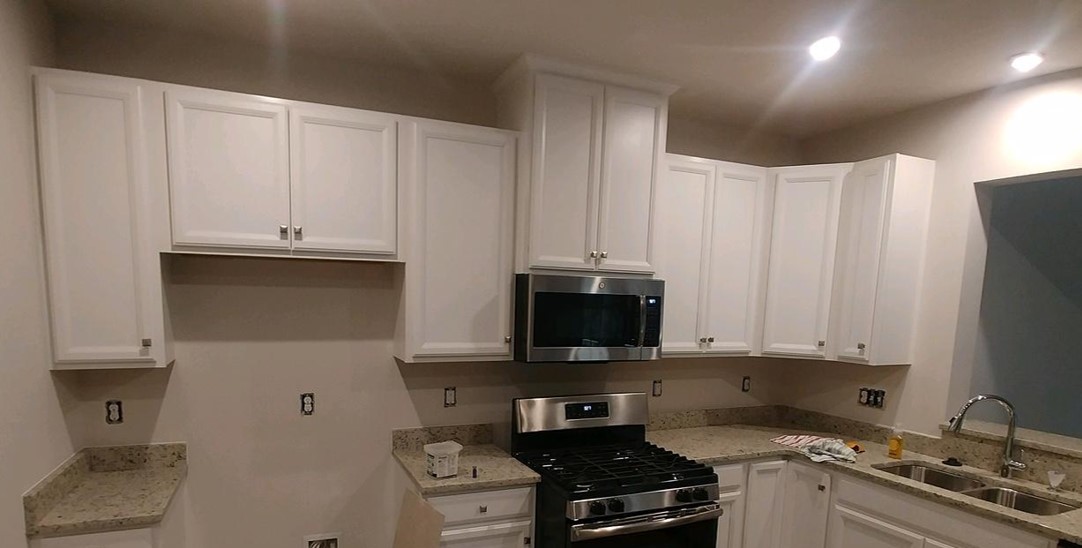
One of the most requested updates to a kitchen that DCI receives is a new backsplash and the request is nearly always for tile. A tile backsplash is affordable, classic (unlikely to become dated too soon) and currently, extremely popular. DCI has recently completed a backsplash on a newly constructed house in Chesterfield County. This post will focus on the “before” look and things you need to think about before installing a tile backsplash.
Types of tile – There a many different types of tile to choose from for a backsplash – ceramic, porcelain, glass, cement and stone are all good for this purpose. Consumer Reports https://www.consumerreports.org/cro/news/2015/01/the-best-tile-for-floors-counters-and-backsplashes/index.htm has a great break down of each of these including price, “best for” and considerations. The homeowners on this DCI project chose a glass tile colored in blacks and grays to compliment the similar coloring in their granite countertops. This turned out to be a great choice! The backsplash pulls everything together visually while adding dimension to the space.
Sources for tile– Your DIY stores like Home Depot have a decent selection of tile and usually stock some of the more trending styles. But for more options look for a tile store in your area. One I use in the Richmond area is Floor and Decor. They stock a huge variety of tiles and because tile is all that that they do, you are able to get expert advice in store. Once you have picked out what tile you want the next step is the surface preparation.
Is the surface ready for tile? – What is currently on the surface where you’d like to have a backsplash? Most common is drywall or plaster surfaces and the good news is that you can tile over painted or unpainted drywall or plaster without any additional surface preparation. All you need is tile adhesive( sold at tile stores prepackaged) and a ¼” notched trowel to spread it on with. If however you have wood or plywood surfaces, then you will need to install ¼” backerboard to those surfaces before tile can be placed there. Backerboard has a surface that the tile adhesive can grip and is reinforced to be rigid and strong to hold the weight of the tile.
Tools/Equipment/Supplies – There are several tools required to install tile, but none are expensive or difficult to use. You will need the following:
Notched trowel/float
Sponge
Bucket
Tape Measure
Straight Edge
Level
Tile Adhesive
Tile Cutter
Utility Knife
Wall tile
Mortar
Sealer
Grout
Cheesecloth
Next week look for the “after” post featuring the installation steps and the final result of our current project in Chesterfield. In the meantime, check out previous backsplash jobs DCI has done below and perhaps be inspired to think about doing your own or calling us to do it for you!
Last week, the DCI crew continued at the river front property where they finished up the deck overlooking the James River last week. If you missed that, you can read about it here. The homeowners were so pleased with the deck, they asked DCI to come back and work on the inside. This property had all dark stained paneled ceilings and crown molding. The homeowner wanted to brighten and open up the space with white ceilings and trim. This is a good strategy to make a small space look larger. Painting is also a great DIY job that doesn’t require a lot of experience but with the help of some useful tips, the investment of a few hours of your time and careful preparation you can turn that ho-hum room into a WOW room. Here’s some things to think about before you begin:
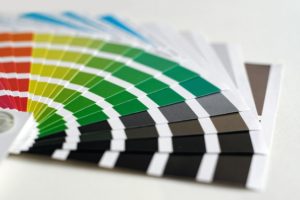
Choosing colors – Ask yourself, what do you want to accomplish in this space by painting? Do you want to make a small space appear larger? Consider a light color. Is the space visible from other living areas? Consider a complimentary color. Should you paint the trim white to accent your work or paint it the same color? I like the look of crisp white trim bordering a freshly painted wall. It kind of pops out at you like freshly minted currency. Sometimes choosing the right color is difficult. Many of the retailers where you can purchase paint like Home Depot, offer samples for about $3. Many of my customers take several home and paint them on the wall to see how they look. It is a good way to see how the color you chose looks in your space with your lighting without spending a lot of money. Once the color is chosen…what’s next?
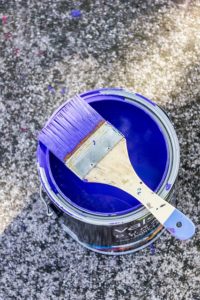
Type of Paint and Finish – There are several types of paints and finishes. The most common type of paint used inside a home is latex, water based. It provides easy equipment clean up with water and the smell is minimal. Special projects, like the stained wood ceilings in our river front project, may need an oil-based paint instead. These require a special equipment cleaner, such as mineral spirits and lots of open windows for air flow. Paint finishes include flat, eggshell, satin, semi-gloss and high-gloss. Again, where you are painting may determine the finish you choose. Ceilings and walls typically get a flat paint. Flat paint does a better job at hiding any imperfections in finish …in older houses, that can be important. Eggshell is step up from flat in texture and can give your living area walls a nice finish. Satin and Semi-gloss are good choices for high traffic areas with increase moisture like kitchens and baths. Those are also good choices for your wood trim. It is easier to clean and more durable. High gloss is often seen in older homes where an emphasis of the molding and trim work is a plus. Or perhaps you want a richer, deeper look? Consider a textured paint, but beware, this may require specialty rollers/brushes or a conversation with an expert before beginning.
Supplies – equipment for a basic home paint project is generally minimal and affordable, again making it a great option for DIY. Basically, you will need rollers, brushes, trays, drop clothes, painter’s tape and a bucket.
Masking and tape – Nothing screams “amateur” like wavy paint lines, drips and runs and tiny speckles of paint on floors and base board. Professional looking paint jobs take a little more preparation but reap heaps of praise from friends and families and well worth the extra effort. Professional painters can do amazing things with a paintbrush and often forgo the taping- off step simply because they don’t need to anymore. For the DYI-er I recommend taping around trim before you start even the rolling of the walls. Rolling paint on walls throws tiny specks of paint no bigger than a pin point everywhere. Paint overhead with a roller while wearing glasses and then check your glasses at the end of the day and you’ll have to agree with me. Invest in some good drop clothes and put them down too before the first can of paint is even opened and you will be glad you did.
It’s amazing the difference a coat of paint can make to a living space. It is also one of the most affordable ways to update a space with a new look and feel. Articles highlighting painting in greater detail are planned for future installments. If you need more tips on painting please re-visit our blog in weeks to come or if you have specific questions feel free to go to “Ask James” and type in your question. I’ll answer it as soon as I can.
The links to external sites in this post are affiliate links, and we will be compensated when you make a purchase by clicking through our links.
https://dosherconstruction.com/wp-content/uploads/2014/11/dci-header-logo.png00Jameshttps://dosherconstruction.com/wp-content/uploads/2014/11/dci-header-logo.pngJames2018-10-30 16:10:232018-11-07 13:44:15Painting Like A Pro
Fall is a great time of year to enjoy the benefits of a deck. It’s a part of your home that allows you to relax while enjoying the colors of the season, grill your favorite foods to share with friends and family or catch a nap in the cooler temperatures. This week, the DCI crew finished building a new deck for a homeowner’s vacation home along the James River in Surry County.
For their outdoor space, the homeowners chose a composite deck that runs the length of the back of their house. It will provide spectacular views and be a perfect complement to their home on the “Rivah”. If you are inspired to add a deck to your home, here’s a few things to consider first:
Foundation – is the area level and clear or would you need to build up the ground or remove trees, bushes or previous landscape materials? The homeowners on this job chose to leave the tree at the corner of the deck because it is healthy and provides an ample amount of shade.
Size and Location – how big would you like the deck and where do you want it located? Size and location can depend on the purpose for your deck. If you want to relax privately or use it for family meals you might want to think of location in regards to sun, trees, and the view from your neighbors. If you want to use it for entertaining, you’d need to plan for at least 5 feet per person.
Materials – do you want your deck made of wood or composite? Consider maintenance: Weather and the sun are hard on exposed wood products. If maintained with a good sealer on a regular basis, wood can last a very long time. Staining and sealing a deck every 2-3 years is not cheap nor is it a quick project. However, if maintenance is put off, in time one will be faced with the inevitable and unenviable chore and expense of replacing the wood on the deck. …or worse, the whole deck itself. Many of my clients are choosing the composite decking and vinyl rails. It requires no expensive maintenance and can be quickly cleaned with a power washer if needed. It costs more upfront, but time and money are saved in the long run.Wood is less expensive but has to be maintained – cleaned and stained every 2-3 years. Composite is more expensive but does not required regular maintenance.
Style – do you want the deck to be colonial, contemporary, cottage, rustic or something totally your own? When making this choice, consider how a deck could echo the style of your home.
Cost – how much can you spend? Cost is primarily driven by square footage, quality of materials and labor. DIY + wood = lower budget. Contractor + composite = higher budget
Building Codes – what are the building codes for the locality where you live? Several localities have building codes information online or your contractor can assist with obtaining this information as well. Here are links to a few of the localities in the Richmond metro area:
As with any home improvement investment, investing a little time into research can have a big return on the final product. Check out resources at your local library or purchase your own resource to reference as long as needed. The Black and Decker Complete Guide to Decks 6th Edition has some great ideas and information. Next, contact Dosher Construction for DIY questions or if you decide to sit back and hire a contractor. Either way, we are here to help!
The links to retail sites in this post are affiliate links, and we will be compensated when you make a purchase by clicking through our links.
https://dosherconstruction.com/wp-content/uploads/2014/11/dci-header-logo.png00Jameshttps://dosherconstruction.com/wp-content/uploads/2014/11/dci-header-logo.pngJames2018-10-10 15:27:112019-02-13 22:39:11Thinking About Adding a Deck?


 special equipment cleaner, such as mineral spirits and lots of open windows for air flow. Paint finishes include flat, eggshell, satin, semi-gloss and high-gloss. Again, where you are painting may determine the finish you choose. Ceilings and walls typically get a flat paint. Flat paint does a better job at hiding any imperfections in finish …in older houses, that can be important. Eggshell is step up from flat in texture and can give your living area walls a nice finish. Satin and Semi-gloss are good choices for high traffic areas with increase moisture like kitchens and baths. Those are also good choices for your wood trim. It is easier to clean and more durable. High gloss is often seen in older homes where an emphasis of the molding and trim work is a plus. Or perhaps you want a richer, deeper look? Consider a textured paint, but beware, this may require specialty rollers/brushes or a conversation with an expert before beginning.
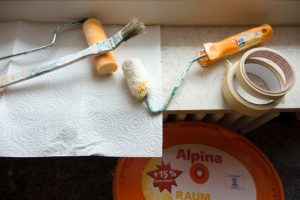 preparation but reap heaps of praise from friends and families and well worth the extra effort. Professional painters can do amazing things with a paintbrush and often forgo the taping- off step simply because they don’t need to anymore. For the DYI-er I recommend taping around trim before you start even the rolling of the walls. Rolling paint on walls throws tiny specks of paint no bigger than a pin point everywhere. Paint overhead with a roller while wearing glasses and then check your glasses at the end of the day and you’ll have to agree with me. Invest in some good drop clothes and put them down too before the first can of paint is even opened and you will be glad you did.